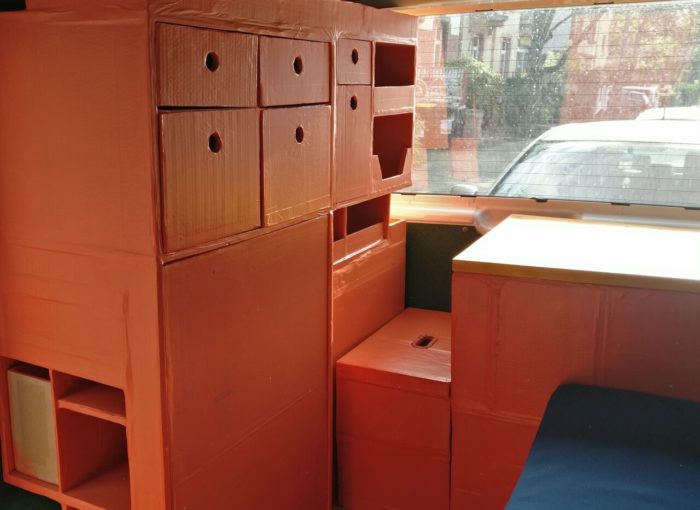
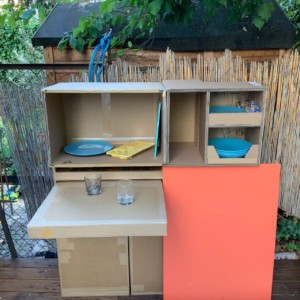
It’s time for the preserves. Our most difficult and biggest module so far. Even after 2 years of use it has proven itself and continues to grow. But here is the story about our built-in cupboard, the highest of our modules…
The idea is to build a cupboard over the entire side of the bus to provide plenty of storage space for pots, dishes, shoes, camping chairs, clothes, pens, etc. as well as to be able to set up a table inside. It is a large module and a challenge because it has to be stable while driving and has to adapt to the curves and conditions of the car. There is a lot of drawing and measuring. Again and again we play with the ideas. The shape depends on what is to be placed in the cabinet. From the beginning it is clear that the dishes and chairs are stored. They give measurements.
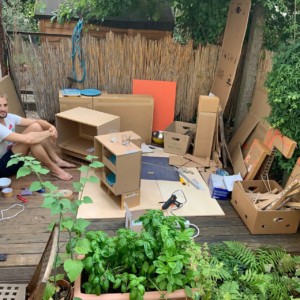
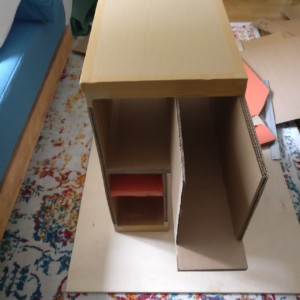
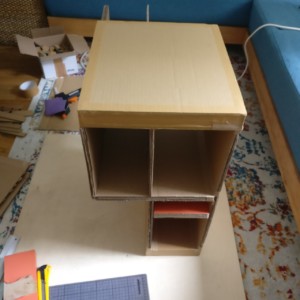
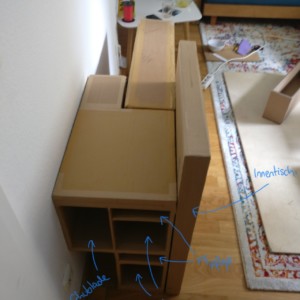
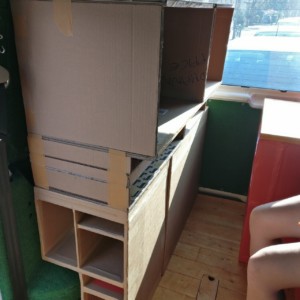
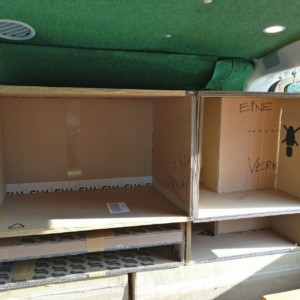
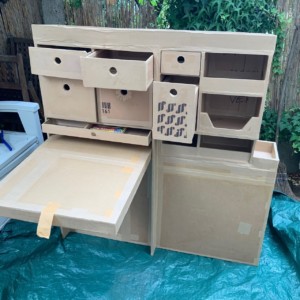
After a lot of fiddling around we decide to assemble the cabinet with the help of four or six (if you count the table tops separately) large individual parts. Every single part is assembled individually with the already familiar technique. First the lower ones – that is, the one for the shoes and a long drawer – and another one for the camping chairs and also a drawer. It has advantages to make them individually. On the one hand because it is easier to cut and glue them, but also because you can always place them in the car and see if they fit.
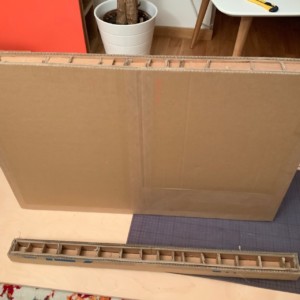
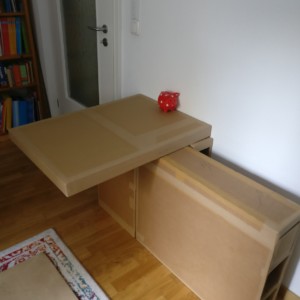
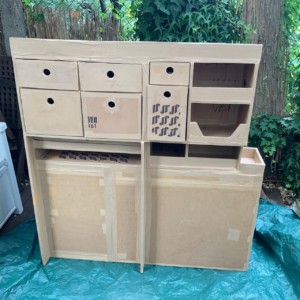
With the tabletop for indoor use as a giant cardboard board, this makes it simple and straightforward, yet stable and functional. All three little things already look pretty good and ready for use in our living room / CarTon workshop. We glue them together and make the upper two parts of the cabinet as empty boxes. These only fixed with adhesive tape we test in the car. It will be adjusted again and again until it fits. Only when everything works out, we make the right divisions and drawers and glue the four modules together. We weren’t sure if this will hold, but because of the large surfaces it is already stable and when we tape everything with the wet adhesive tape, it looks really shake-proof.
the mounting
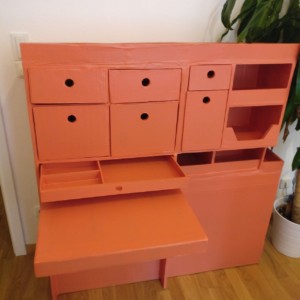
It is painted and finally it is finished – the cabinet module. No, not really, we have avoided all the time to really define how the cabinet can be fixed safely in the bus. Only when it was painted, it was stable, only then did we decide. After some tests and back and forth lashing straps, which were tightened at the back, were to carry the locker before tipping.
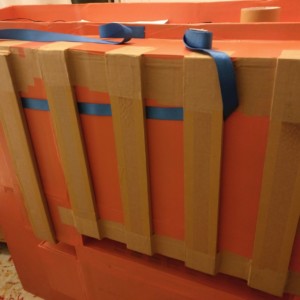
The mounting was a small challenge… Our solution is to use cardboard to attach side struts to the back wall of the cabinet. These are fixed in large numbers with hot glue and wet adhesive tape.
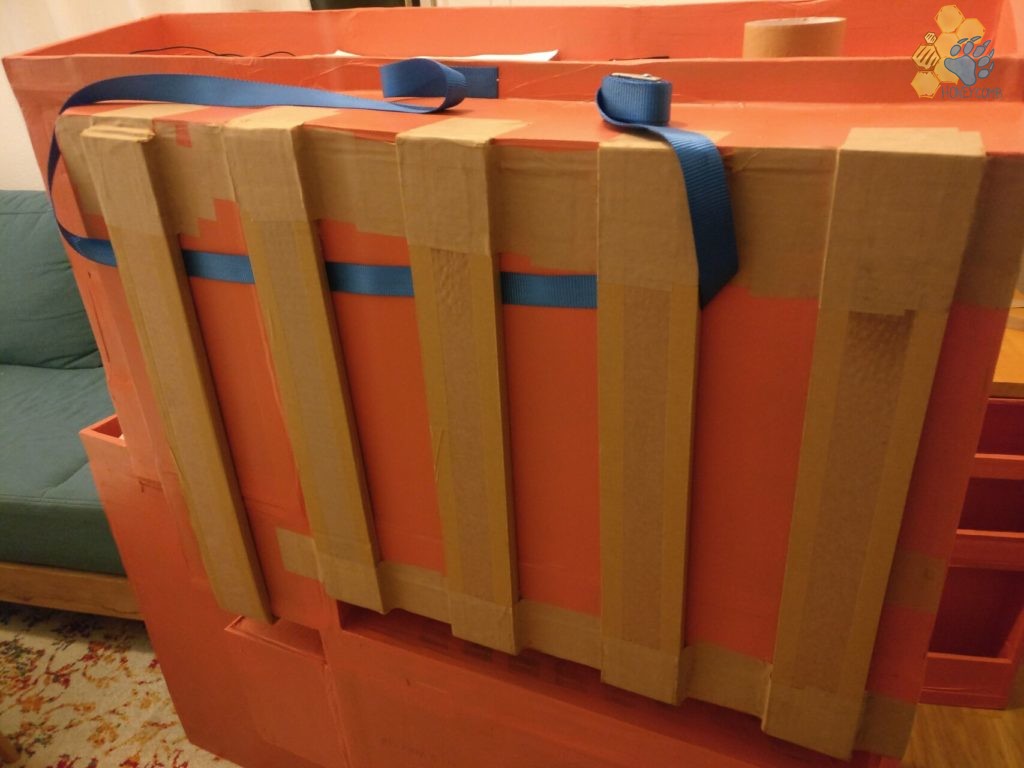
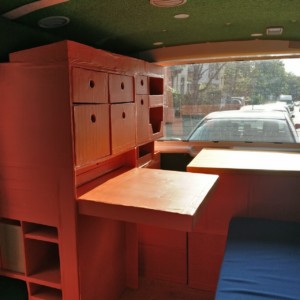
In the bus we use cavity plugs to fix screws with ring nuts in the prefabricated holes of the bodywork. It was a bit tricky to find the right size, because the holes do not correspond to any standard. But in the end it holds by the technique of cavity plugs. The lashing straps are threaded into the ring nuts and pulled through all side struts of the cabinet. At the end the strap is connected and tightened. This way the cabinet now hangs firmly on the car body.
after six month of using
We are currently using it for half a year and it is holding up quite well. But we also got into the habit of clamping the cupboard with the mobile shoe rack – which we use more and more as an outdoor stool – and the kitchen. This gives us additional stability and in case of an emergency the cabinet can be tightened again with a lashing strap via the floor eyelets. But as I said before, the cabinet holds very well and after the first tests we already have ideas to refine and improve it.
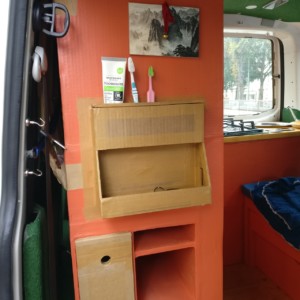
In general, one must say that everything has space as desired. We have a cutlery and bathroom drawer and the rest is used for sleeping and day clothes. This way you don’t always have to go to the drawers under the bed and we can snuggle up comfortably in our pyjamas in the evening and slip into fresh clothes in the morning. On the wardrobe we also have space to take off the curtains and stuff hats and scarves in.
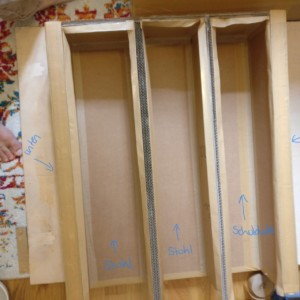
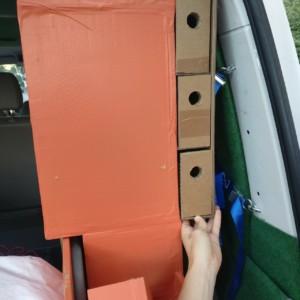
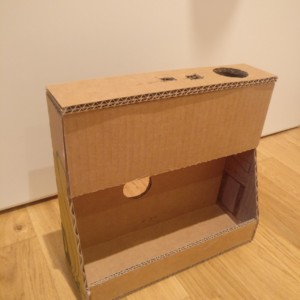
And it continues to grow steadily. So we create another small box to store little things and smartphone as well as the toothbrushes and pasta. In addition, we fill the gap at the back with three very narrow drawers to store small tools such as screwdrivers, hammers, etc.
We are generally very enthusiastic about our CarTon cabinet!
used tools
- Cutter (carpet knife)
- Hot glue gun
- Metal ruler (50 cm)
- Bricklayer angle
- Sponge cloth & water bowl
used materials
- Corrugated board
- Paper packing tape vs. wet adhesive tape
- Hot glue cartridges (alternative: eco-glue or wood glue)
- Water-based paint in RAL2012 color
- Ring Nuts
- Cavity dowels
- Lashing strap

