The interior work is finished! We have now tested a whole summer, have been on vacation, have improved, adapted and updated. A lot has happened in the meantime. On the one hand this page, which was moved from my private server for testing to a real public one. Now everybody can follow our construction and the upcoming journey. On the other hand the much bigger and much nicer development, that we are no longer travelling in pairs but in threes. This does not keep us from spending more time together as a fresh family. But that means we need even more utensils for the journey. Among other things a baby carriage and/or bicycle trailer for the little one. Where should this go?
The roof!
A possibility for a rain roof or awning, should always be on the roof. Initially in the form of an awning, but now in a more individual solution. Through her work as an interior designer, bee has made contact with an individualist who is unrivalled. A man who actually learned to make pottery and is now the master with metal and improvisation. No matter what the idea, he has an idea of how it can be realized. I have never met anyone like him and every time I visit him, I discover new little wonders in addition to homemade airplanes. We have ideas, we have conceptions and he should help us to find out what is realistic and to realize a roof rack that even has the possibility to carry hammocks.
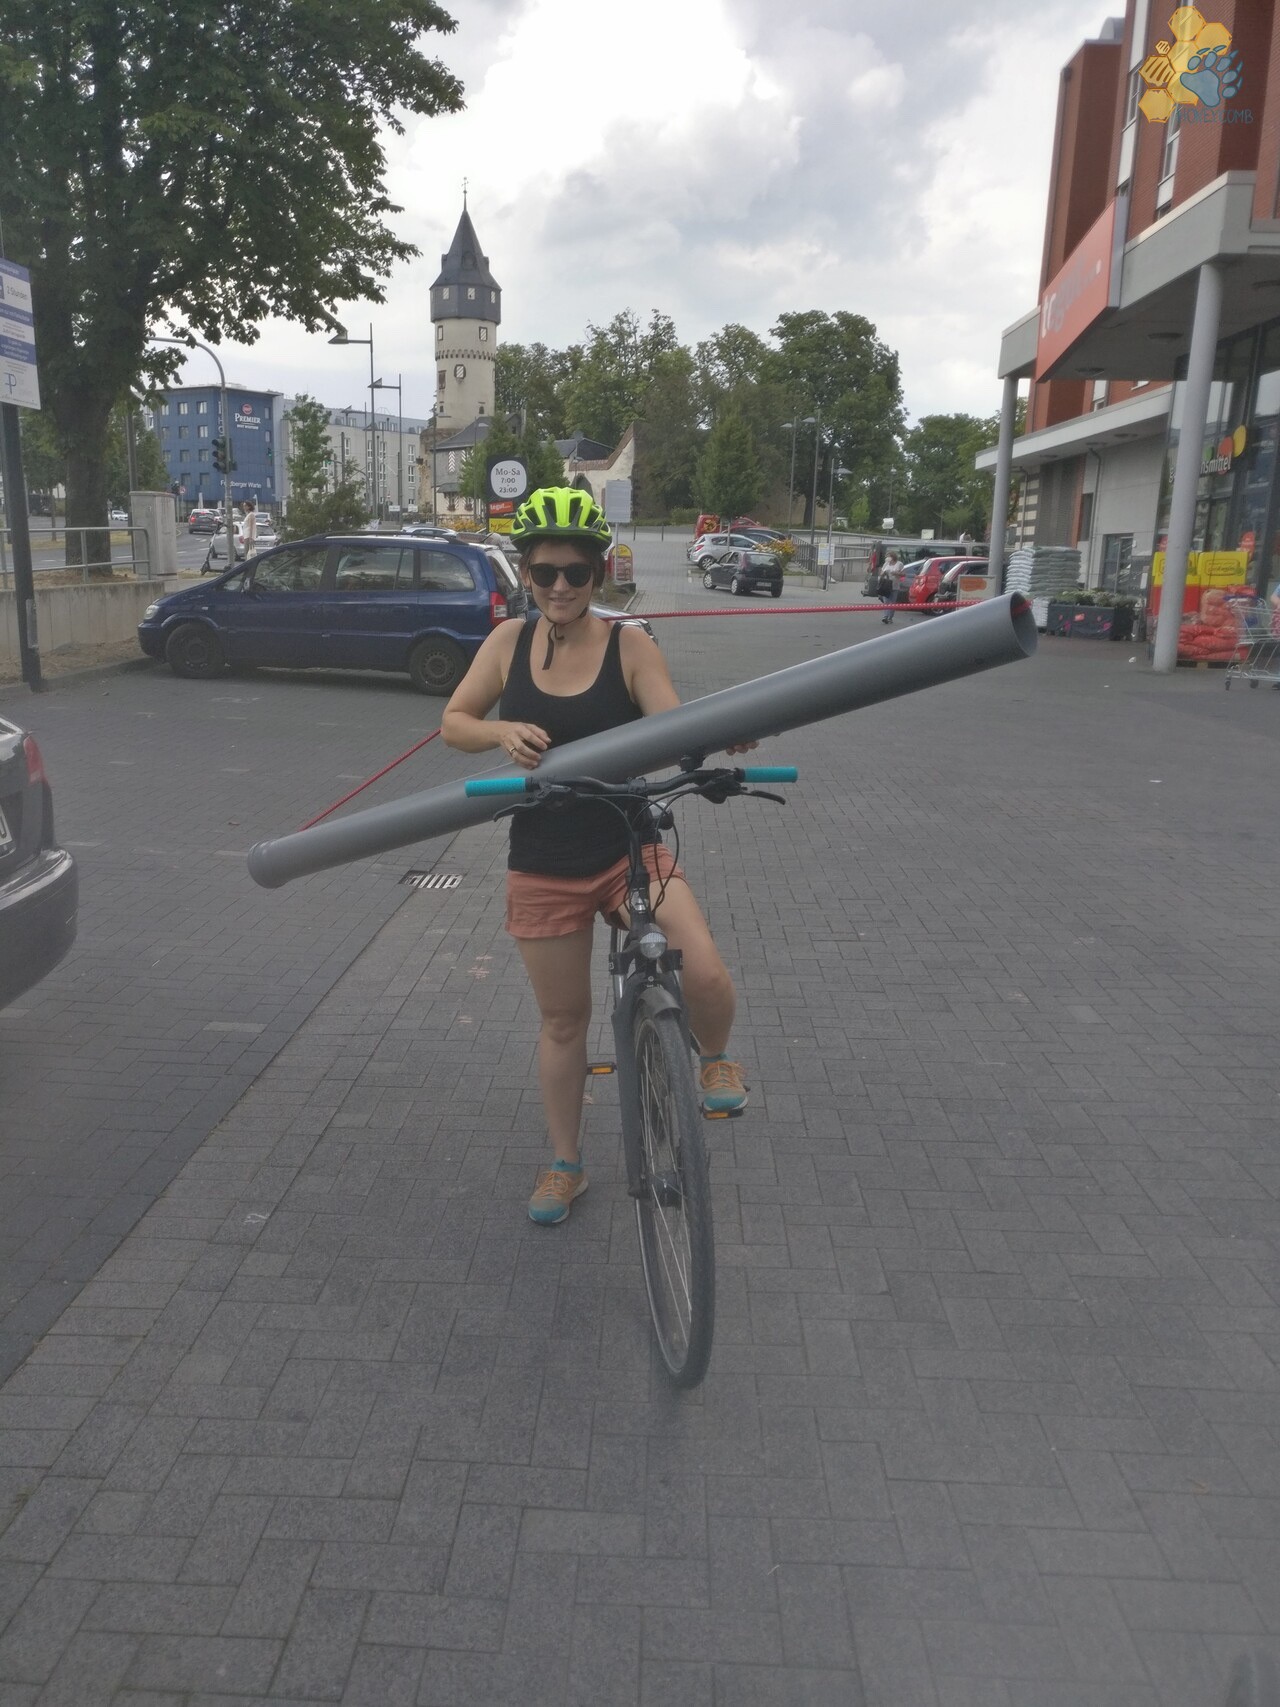
The demands on a roof rack are high. We want to be able to attach a hammock to it. We want an awning / tarpaulin to have a small area at the door, e.g. to be able to reach the kitchen a little drier in the rain and to be able to stand up when it rains for several days. But we also want an attachment for an outdoor shower, the solar panel, an additional water tank and a big box. The solar panel is supposed to charge the battery besides the possibility to drive with solar energy. The water tank will be necessary because we only have 30 liters in the kitchen and this is good for a weekend, but not for several days. We decide for another 70 liters. The shower, consisting of a waste water pipe (unused and new), will hold 20 liters and will be heated by solar heat. The box should be big enough to secure and transport the bike carrier. So there is a lot to come and we are planning again.
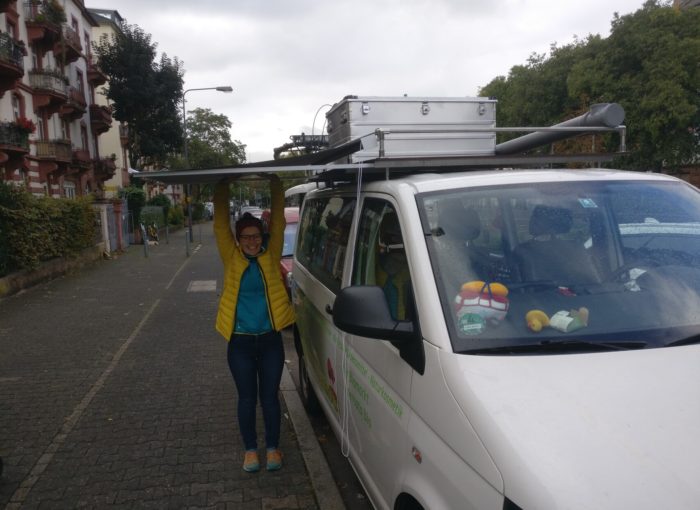
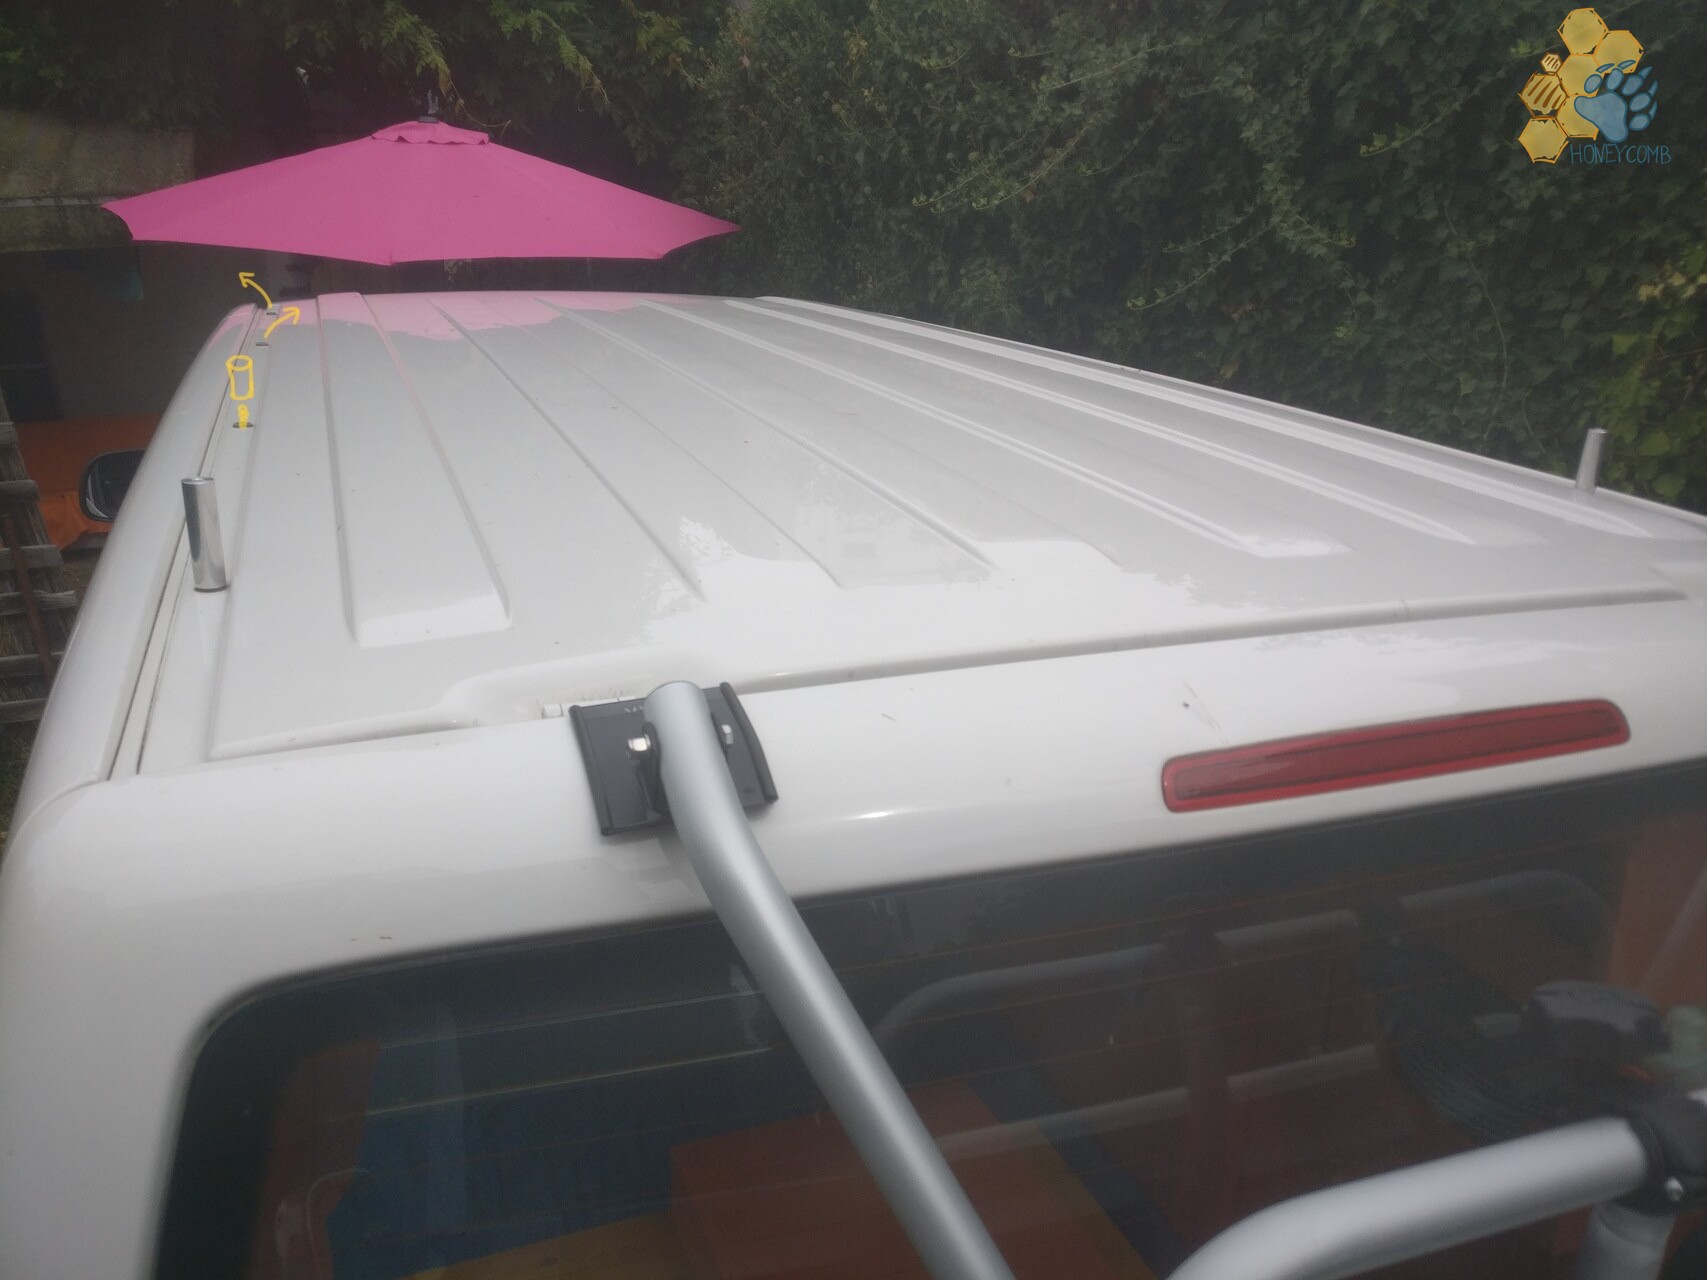
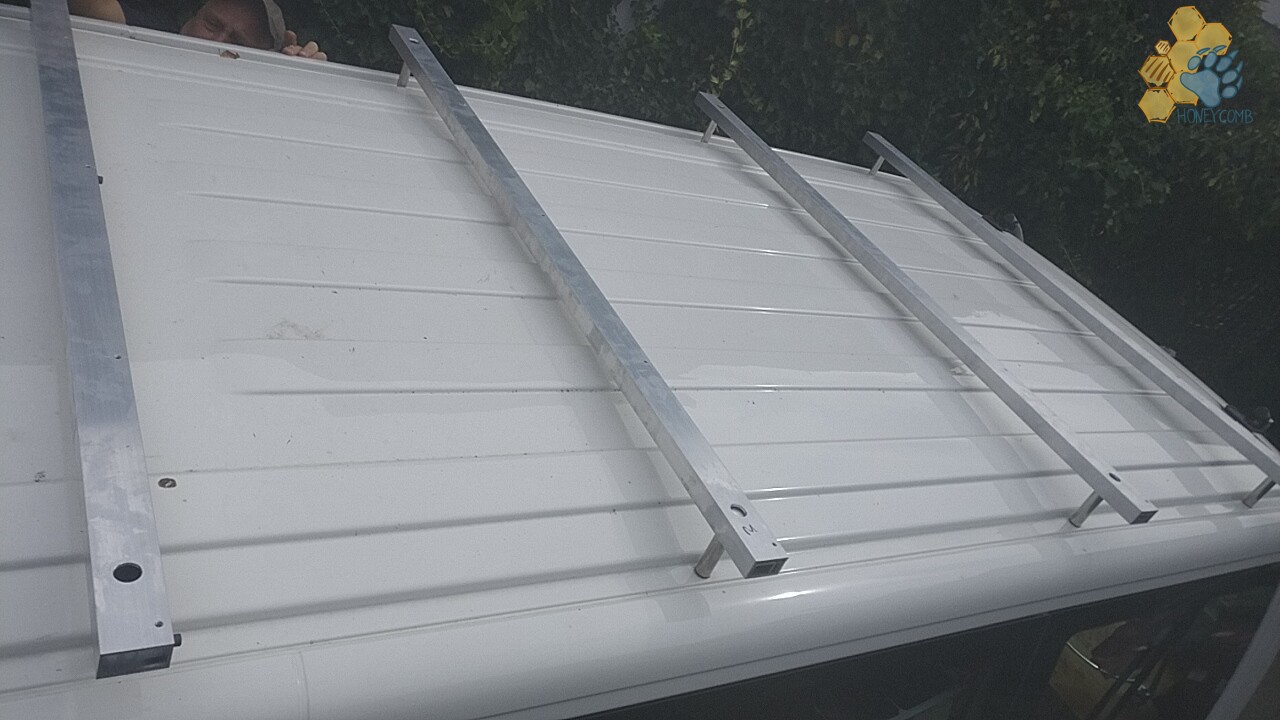
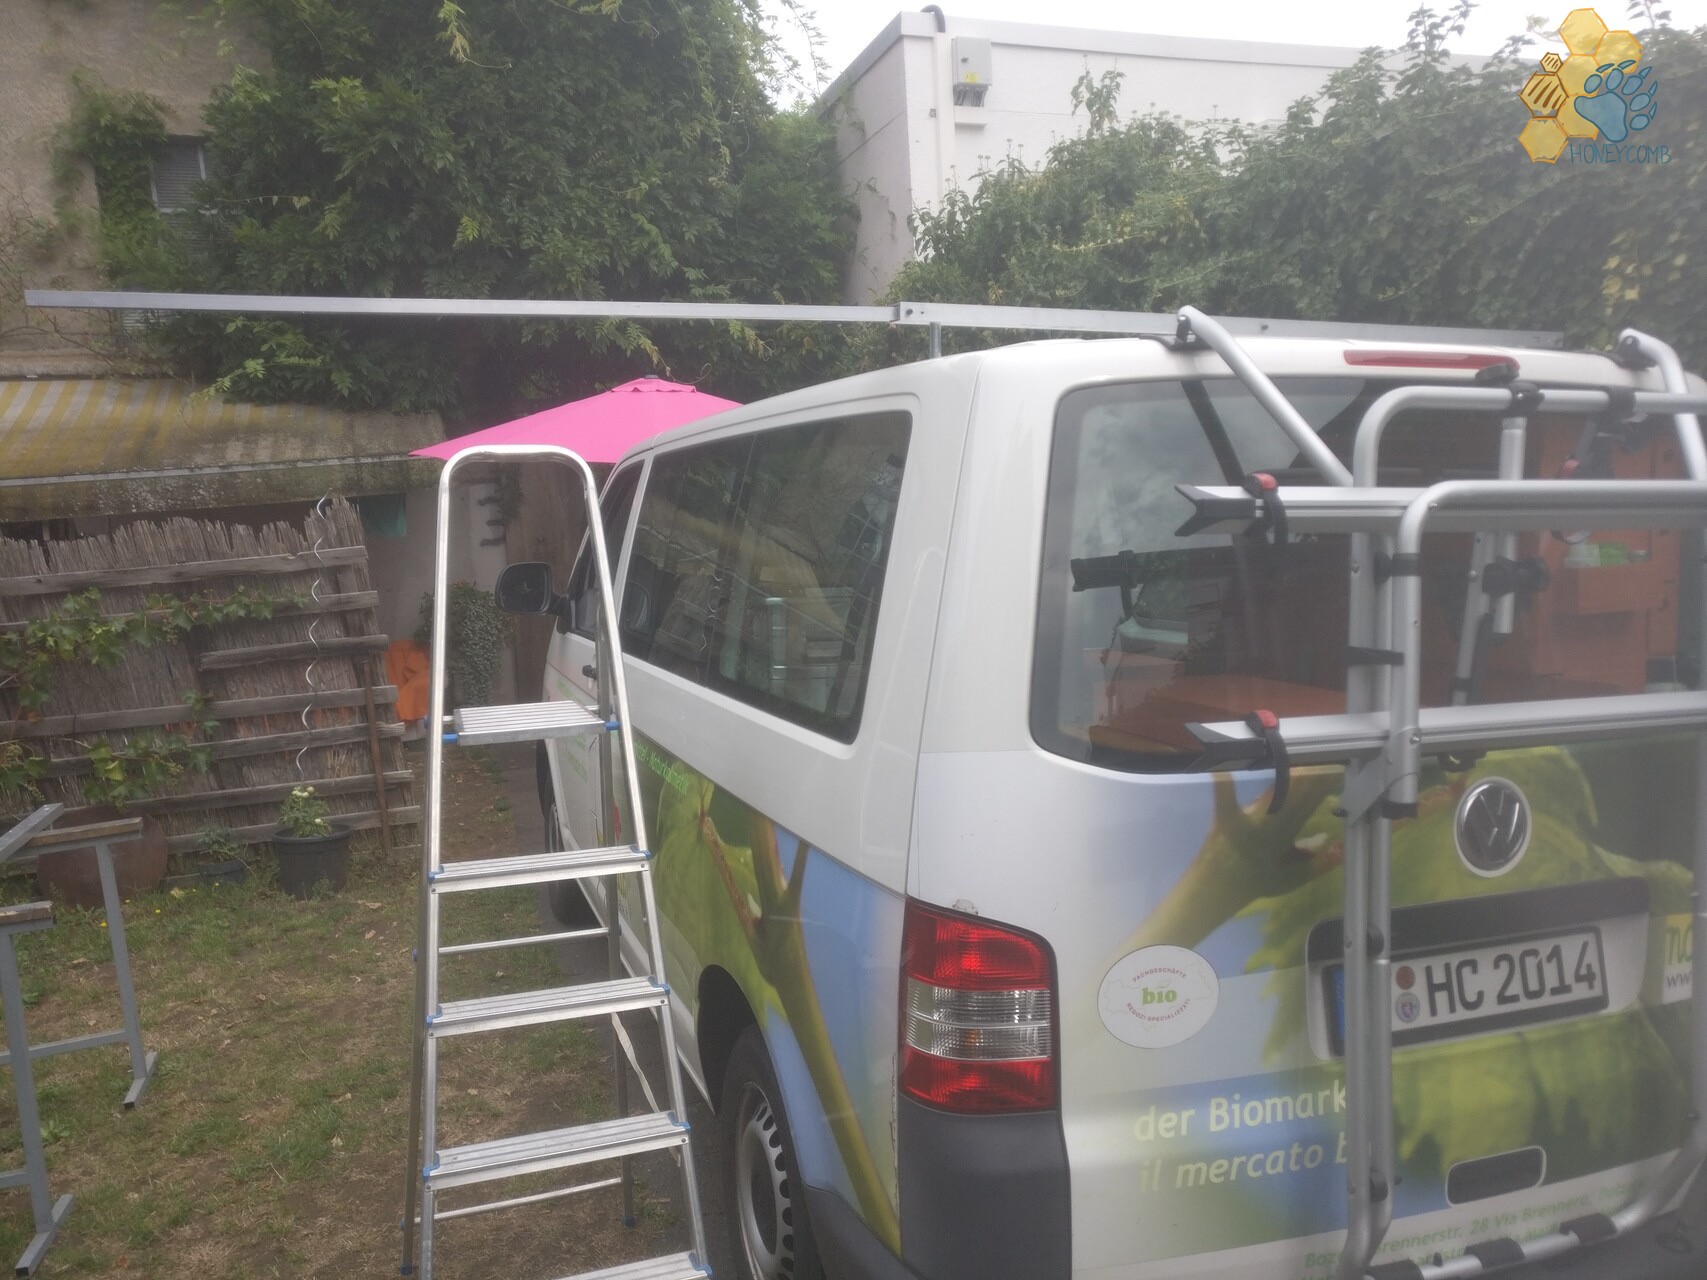
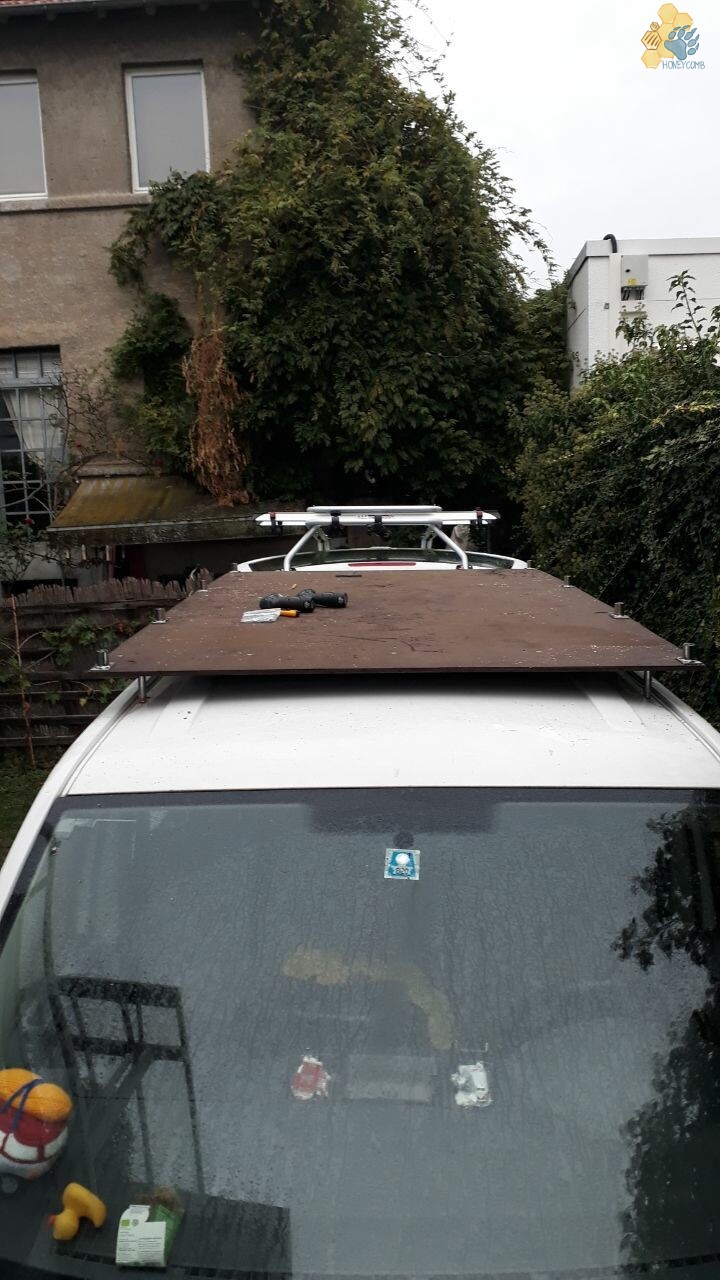
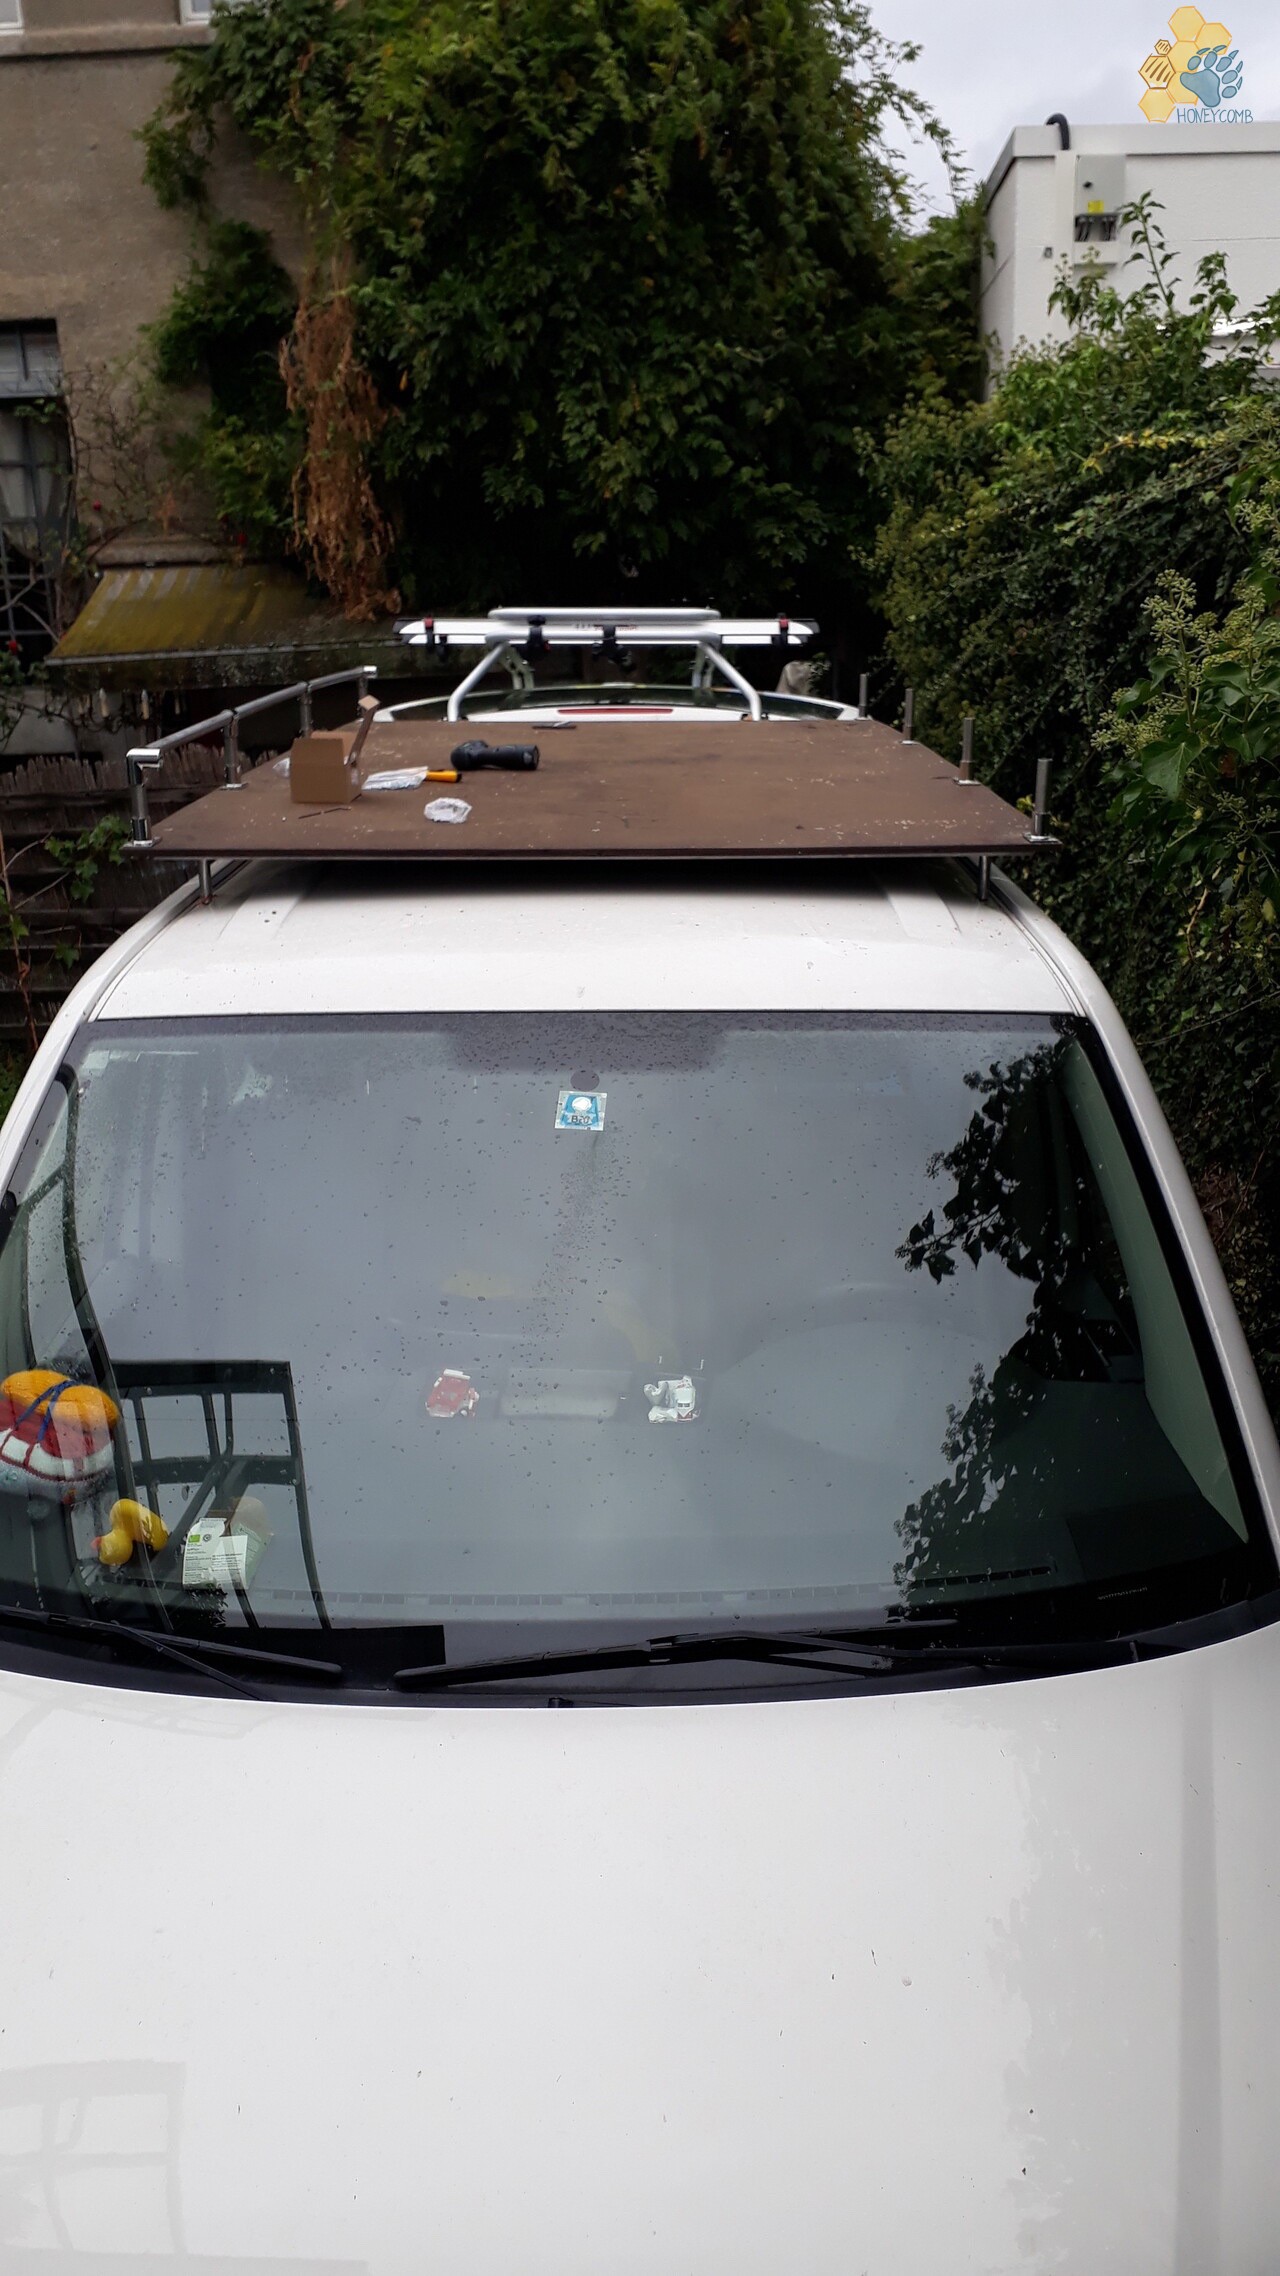
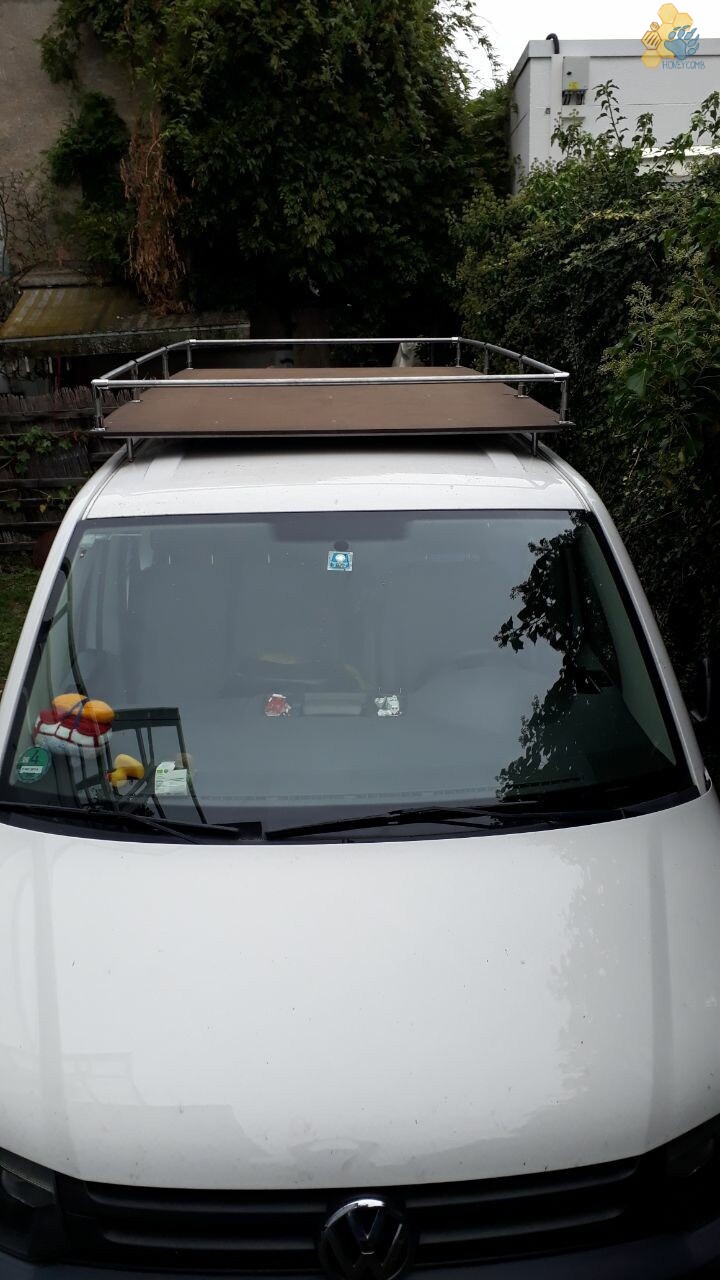
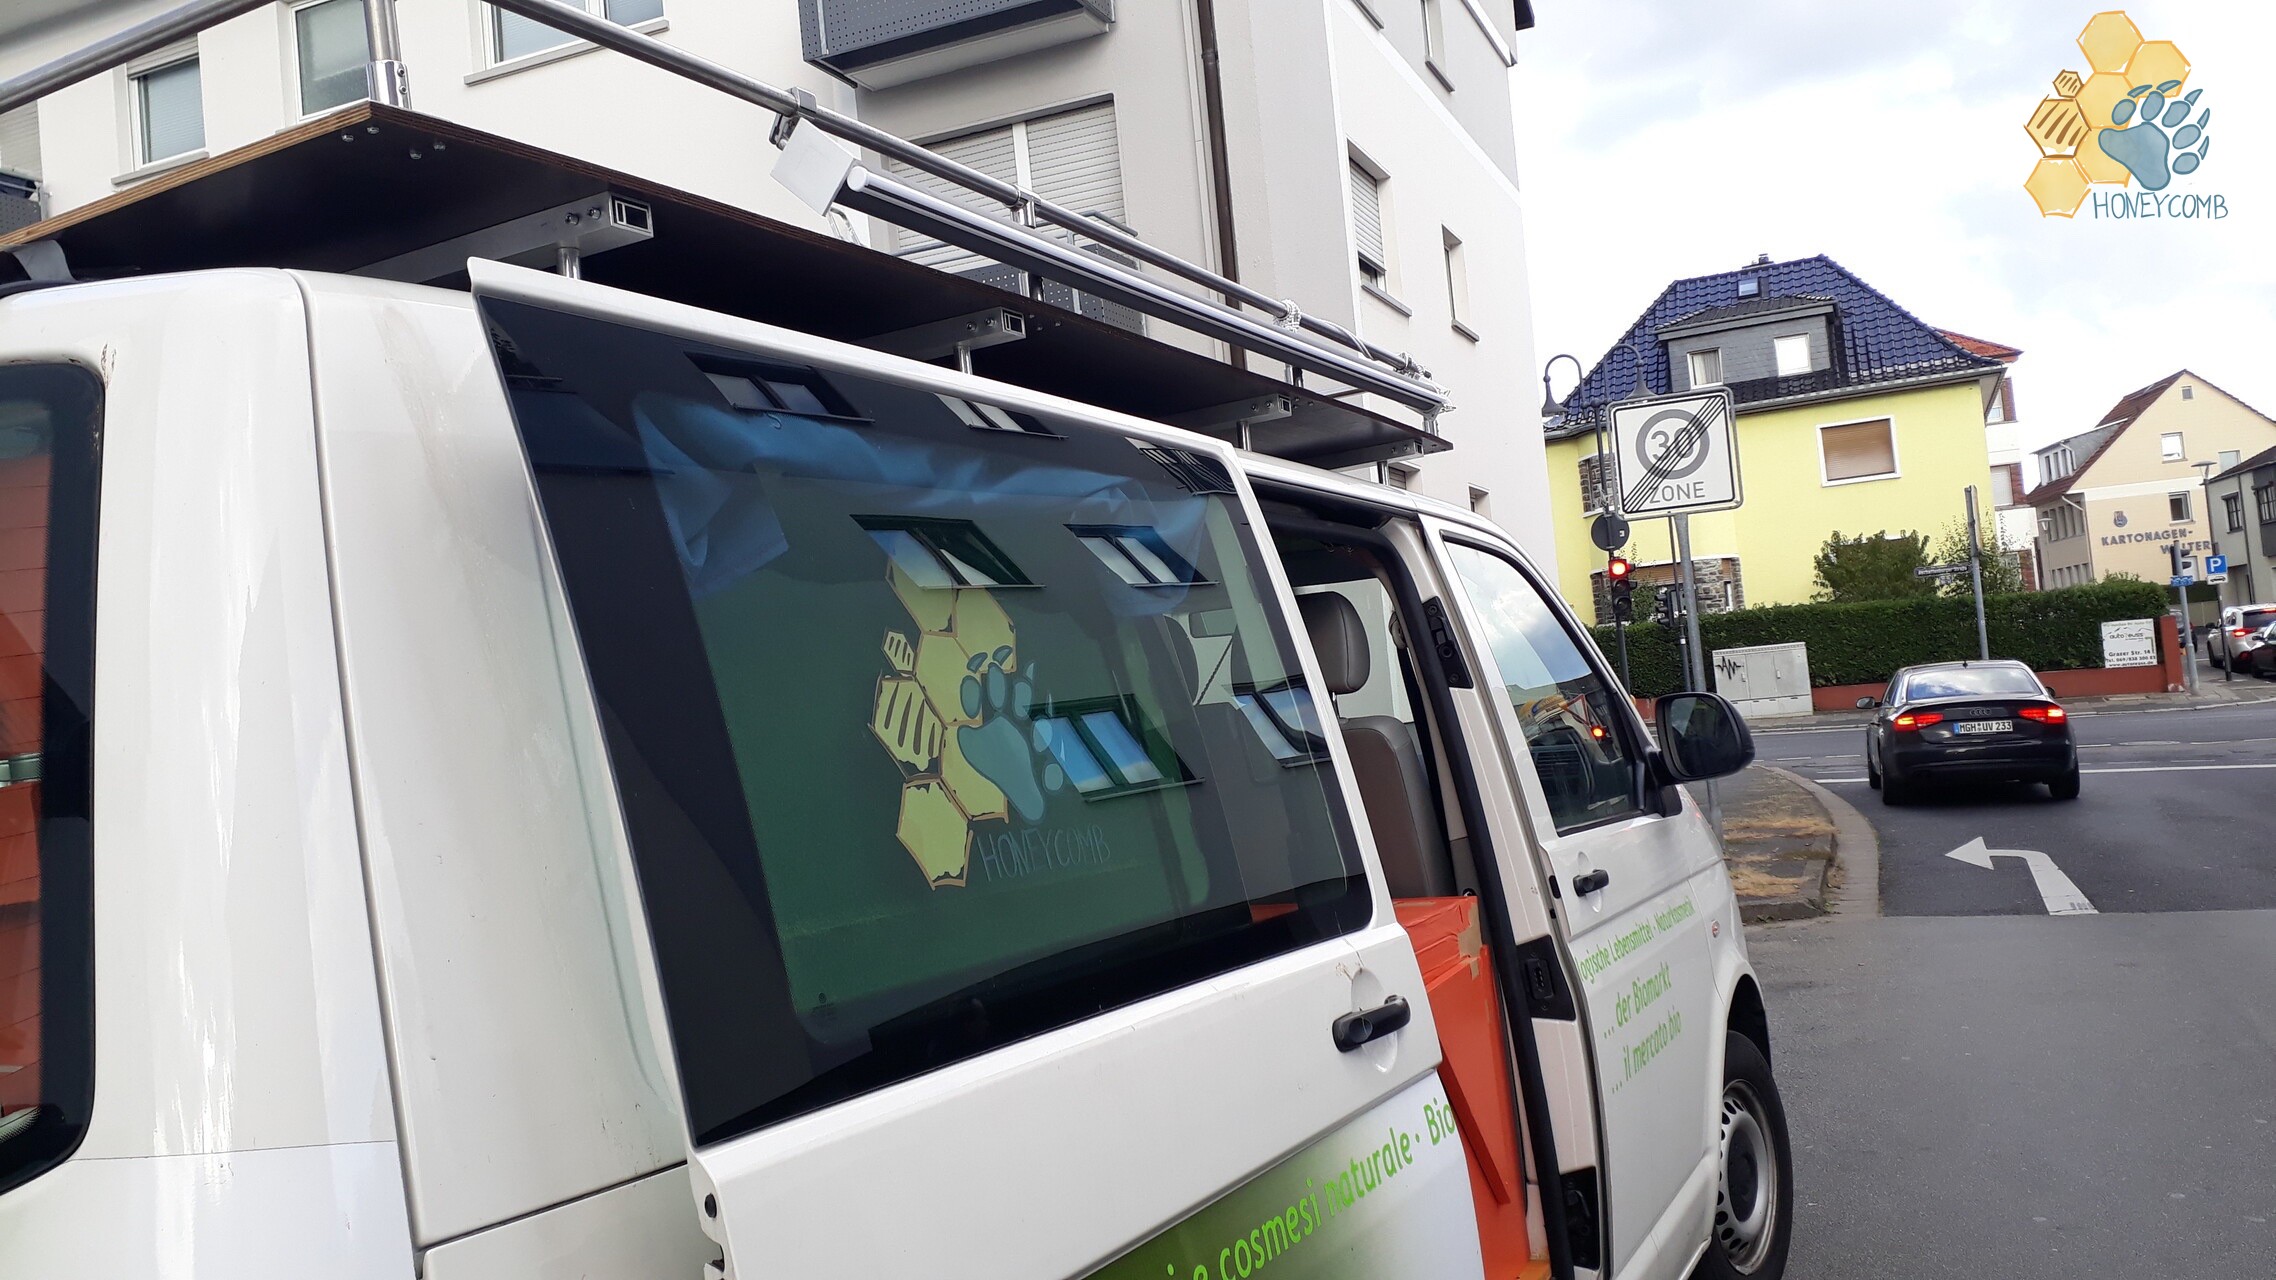
After many different considerations and plans, we decide on a three-part structure. First of all cross beams are built on the roof. These are attached to the holes provided by the manufacturer and there are four of them. The special feature is that the cross bars are based on aluminum hollow bars. One bar comprises two smaller ones inside. Inside, one of the two can be pulled out. This goes in both directions of the car roof and gives us the possibility to stretch tarpaulins or washing lines over it or to hang things on it. With end flaps the ends are sealed and this works quite well so far. To prevent the bars from loosening while driving, the outer one is fixed to the car with internal screws. Inside, the smaller hollow profile is pressed to the larger extendable profile from the outside with screws and fixes it over the whole length. So it does not move a bit.
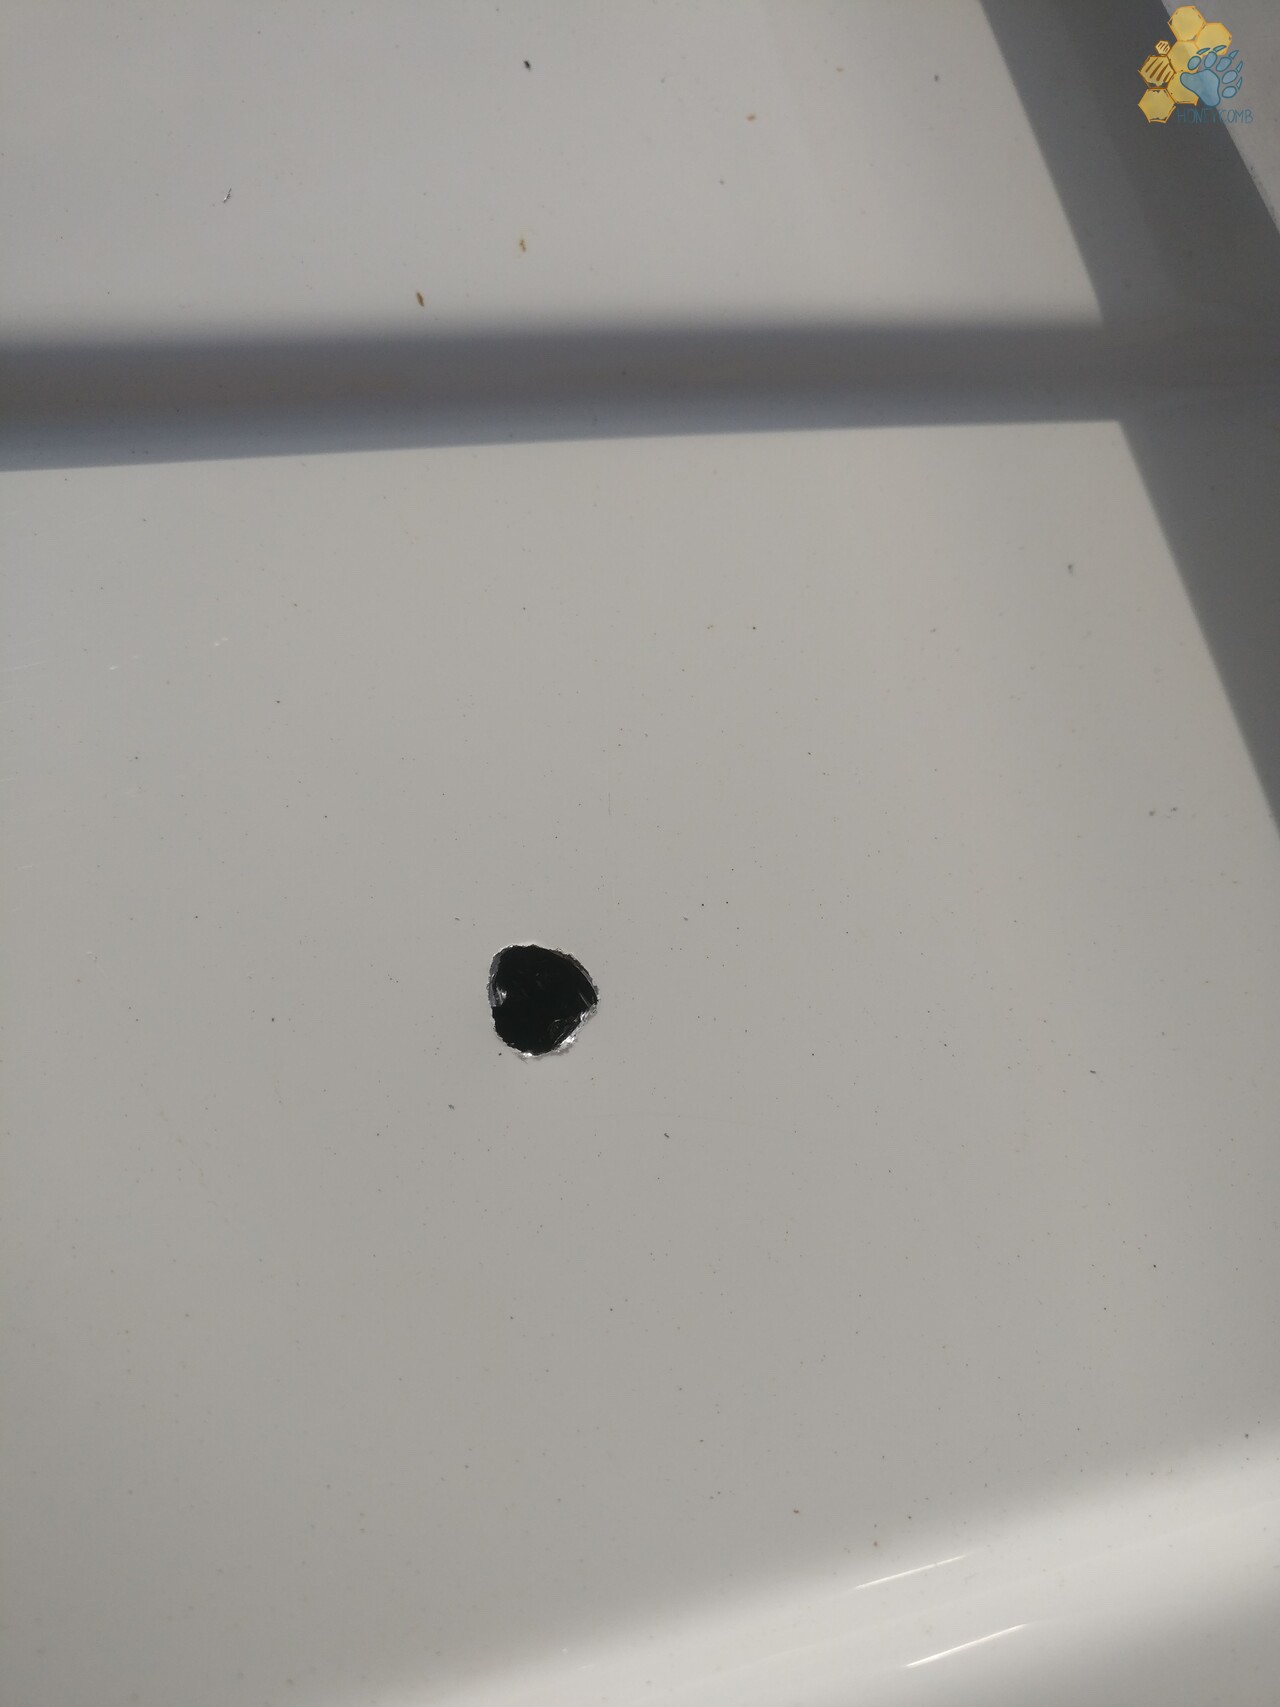
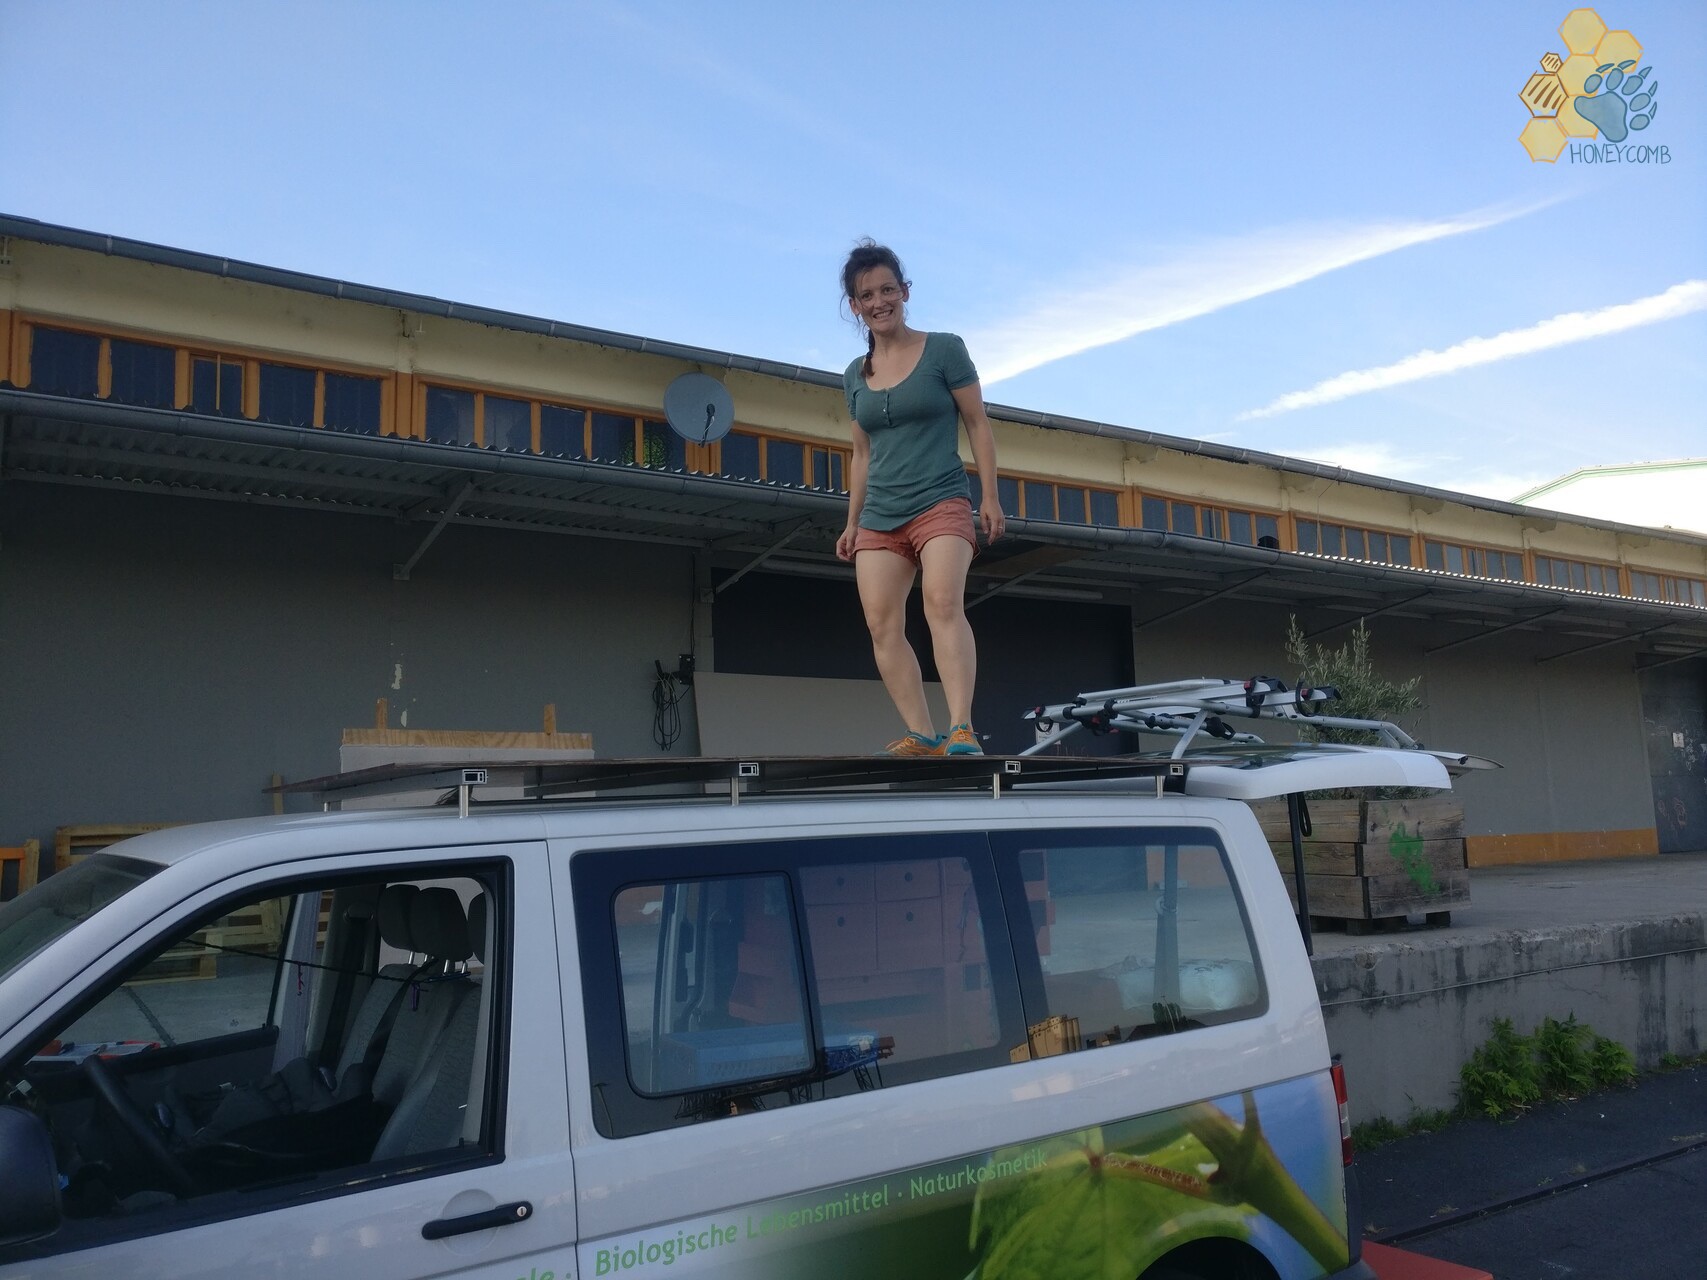
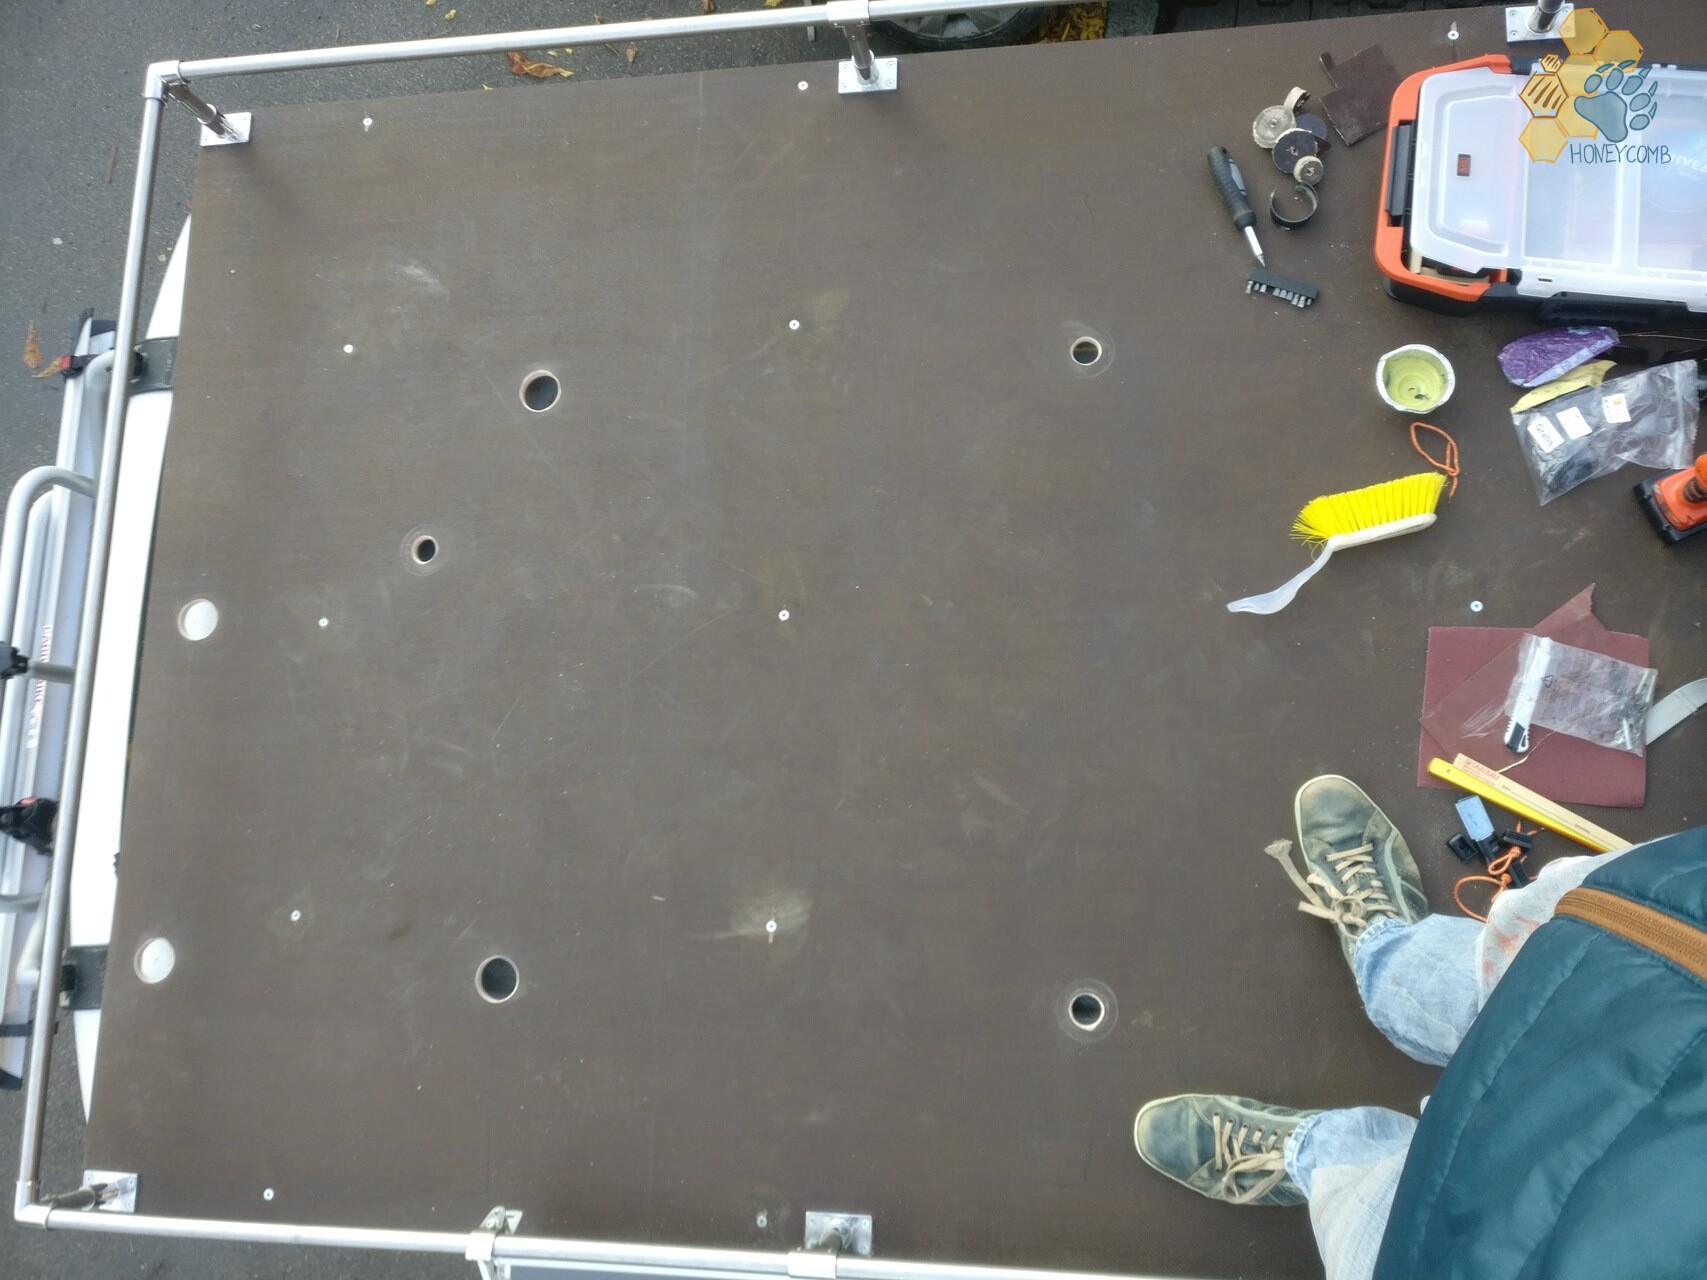
A 250 x 148 cm large screen printing plate with a thickness of 12 mm is screwed onto these cross profiles. In the cross profile, holes with threads are already screwed in regular sections. We screw inside screws into the holes and place the plate on top of them. Then the plate is fixed. The screws press themselves into the plate and mark the drill holes. When the plate is loosened again, every single marking is drilled through and then the plate is screwed to the cross profiles from above with stainless steel threaded screws. Here nothing can come loose and we have a large roof deck. We can both stand on it and our little one loves to be up there.
The third part of the roof structure is a stable railing, consisting of aluminium round profiles and connectors. This goes once around the entire wooden plate and is supposed to be an additional protection for the load on the roof rack. In addition, an attachment for the awning, consisting of a rainproof vertical roller shutter, spontaneous structures, such as tarpaulins or as a climbing aid on the roof.
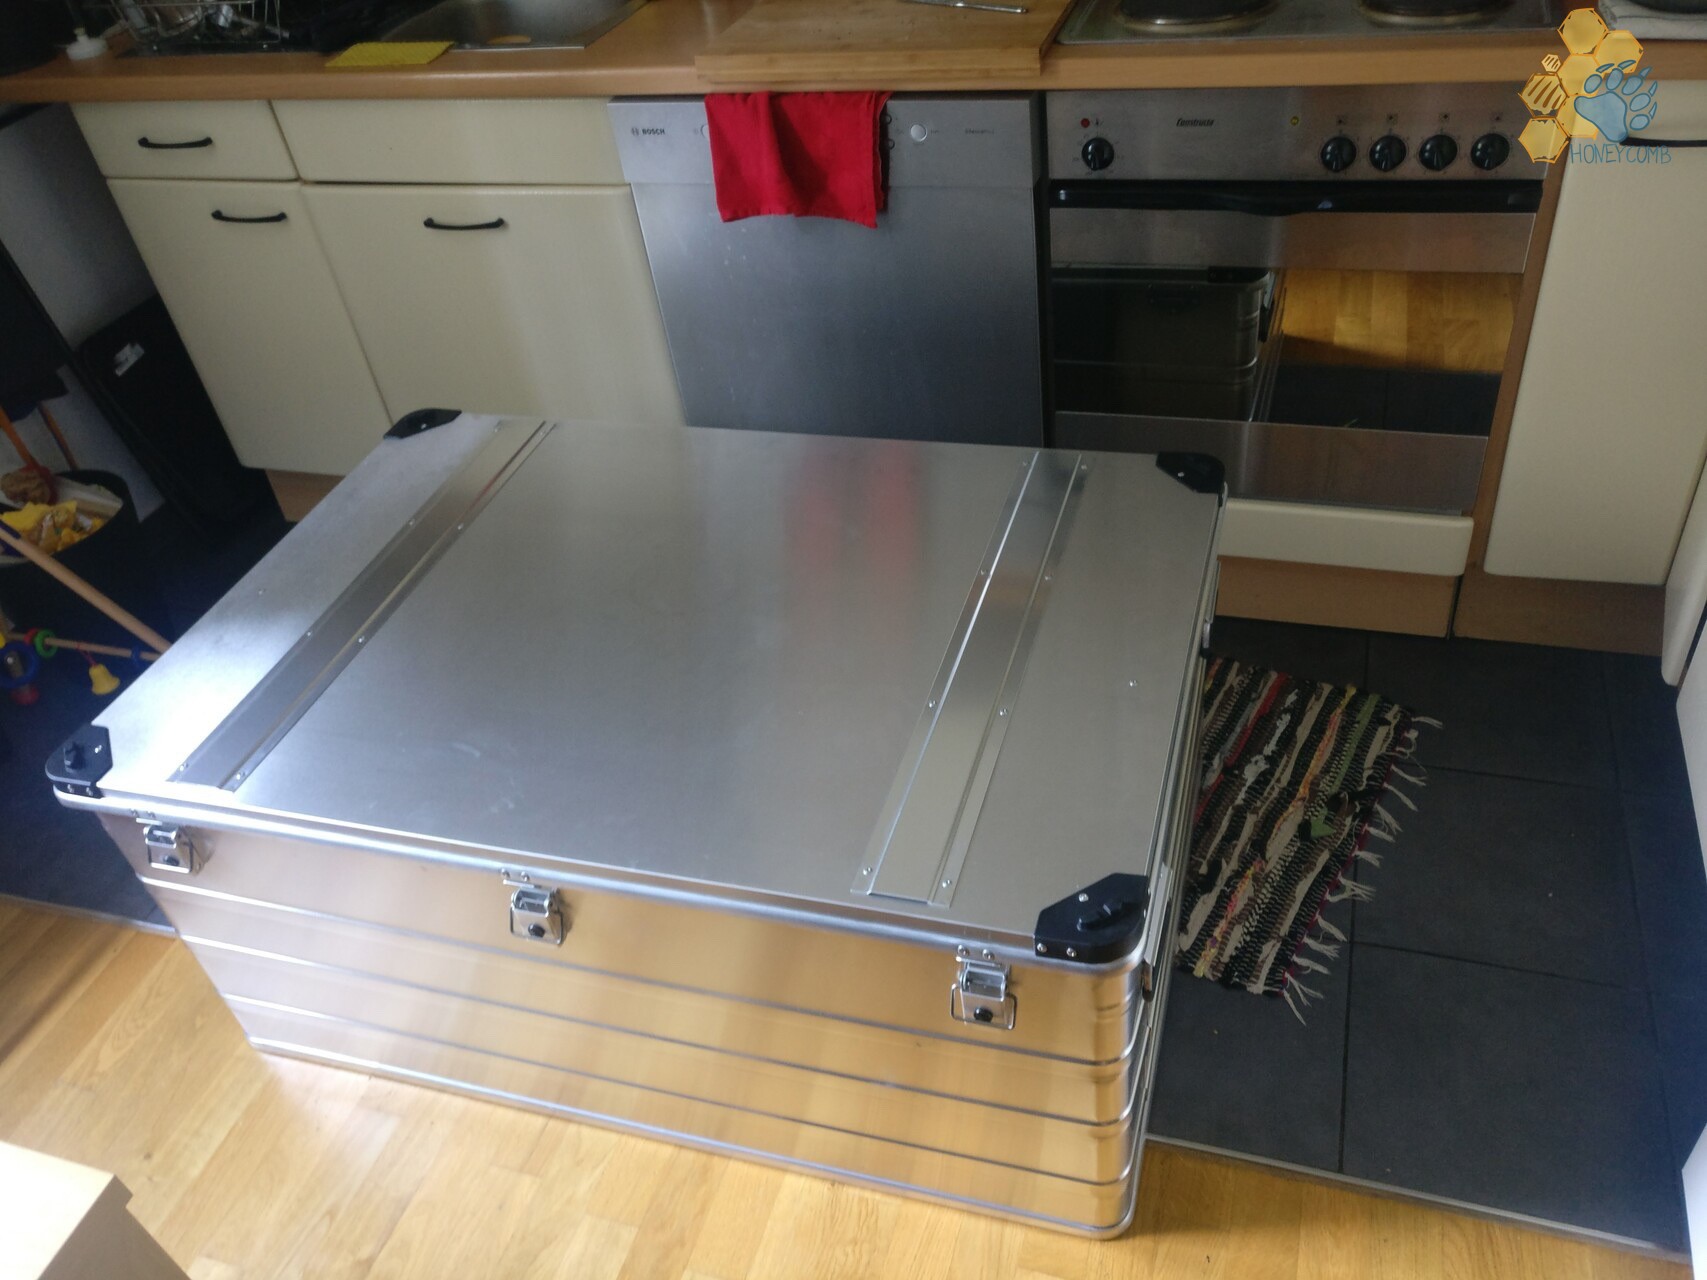
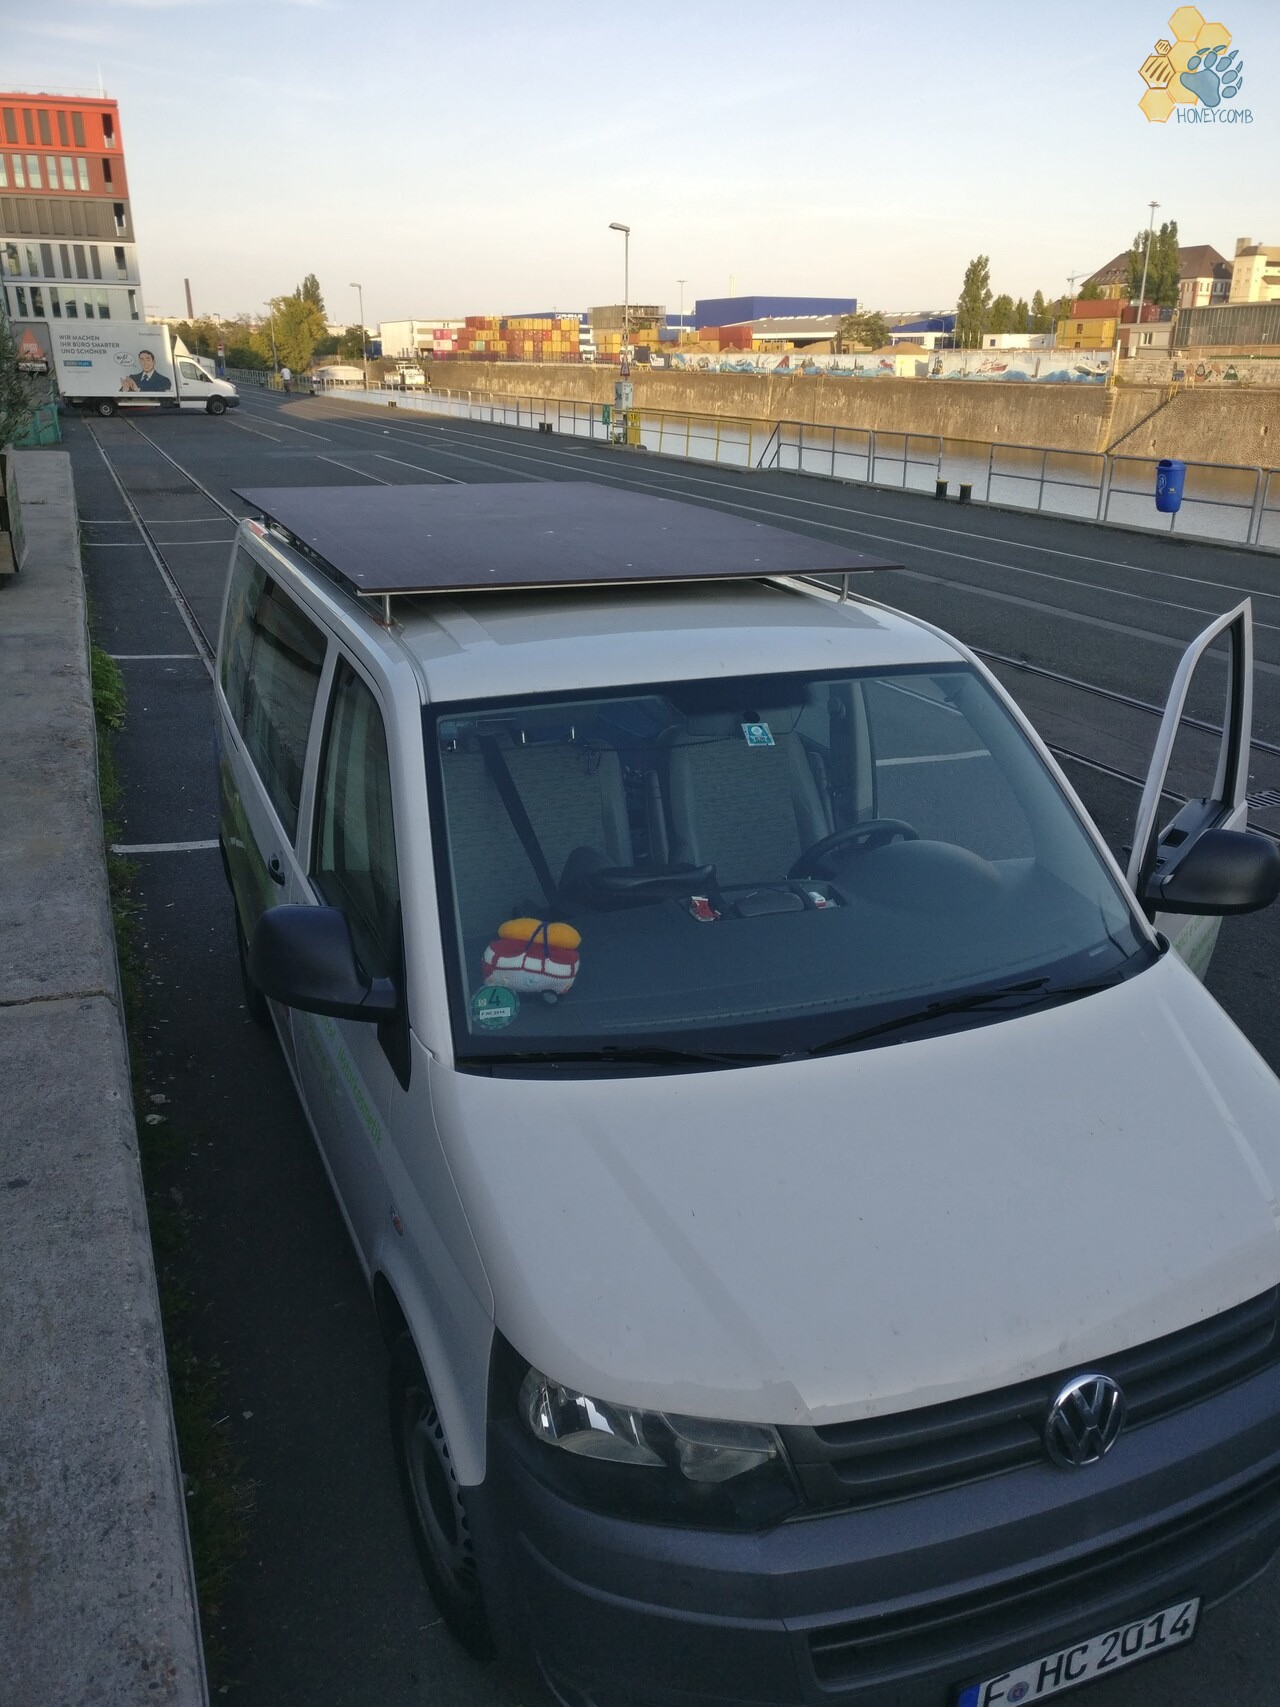
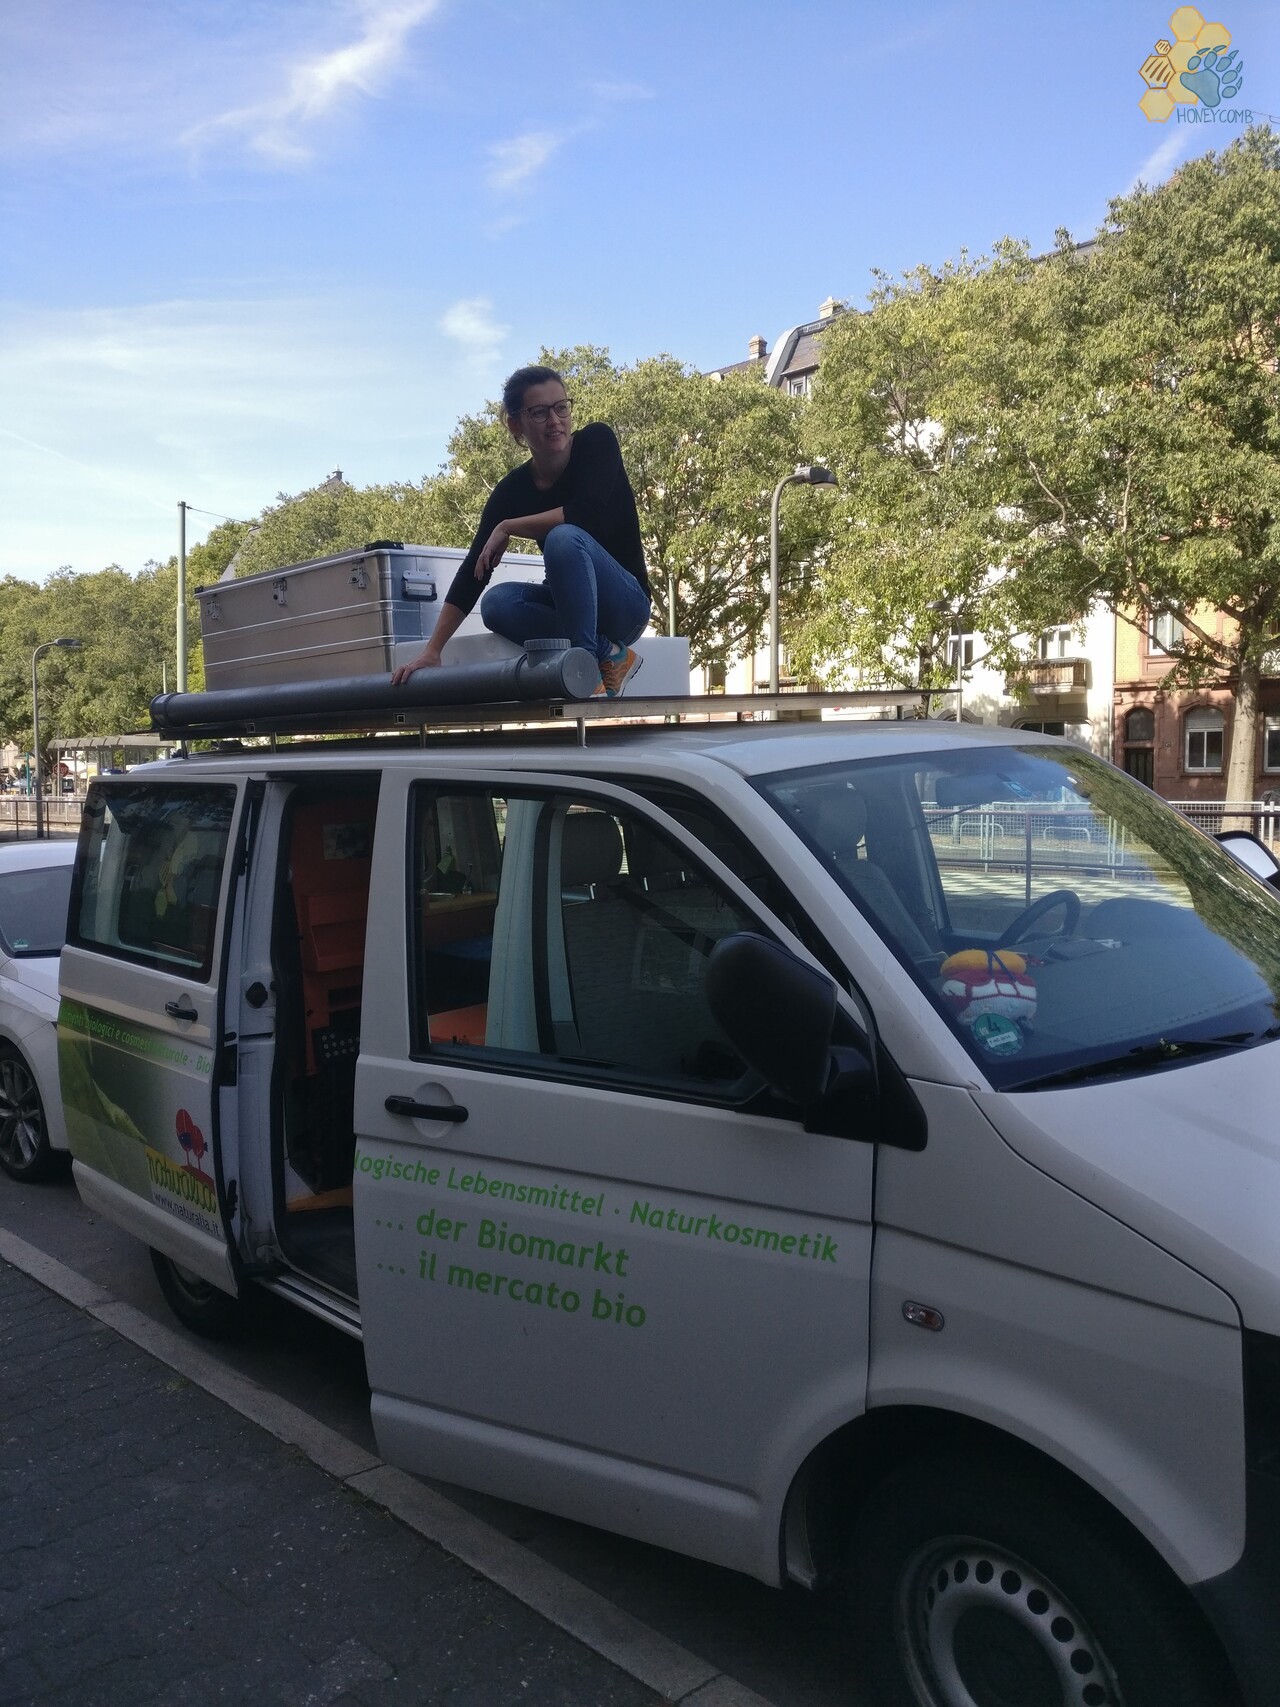
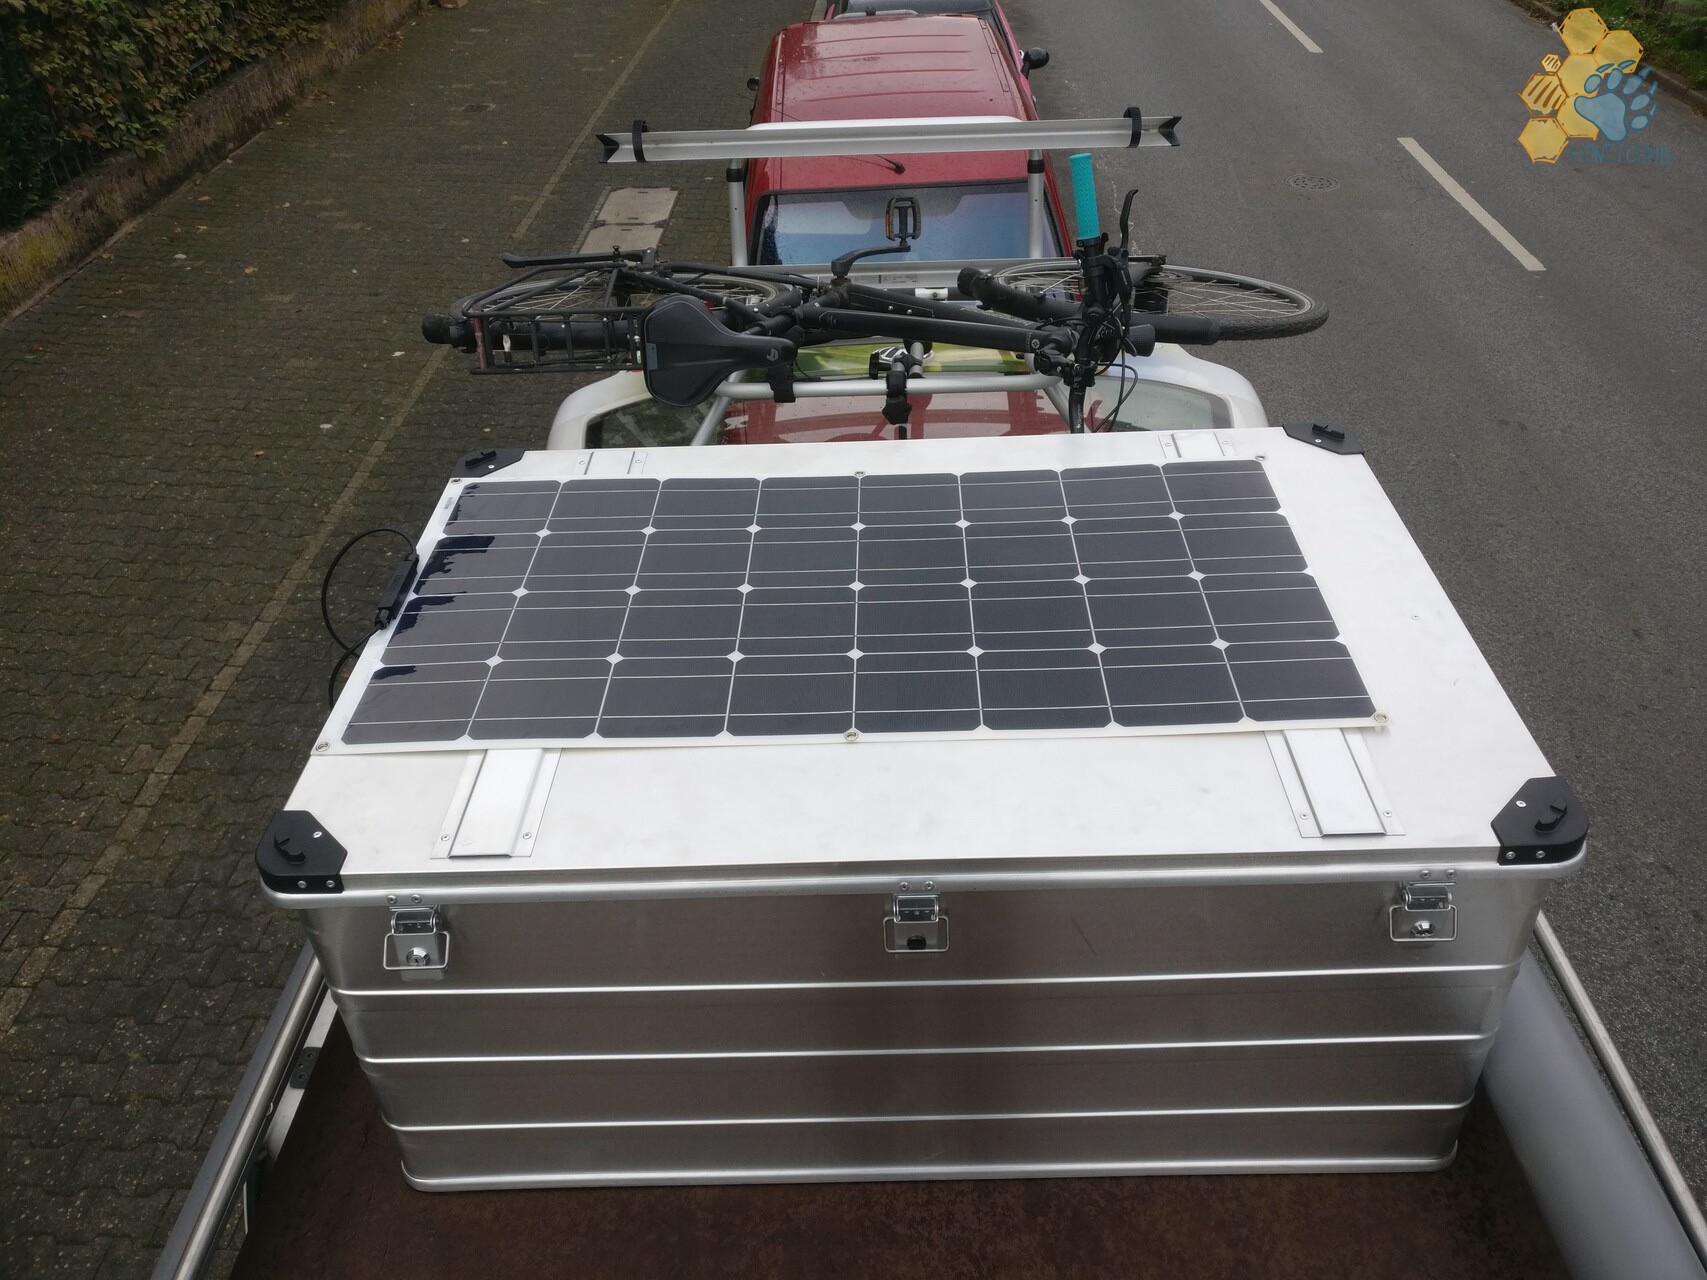
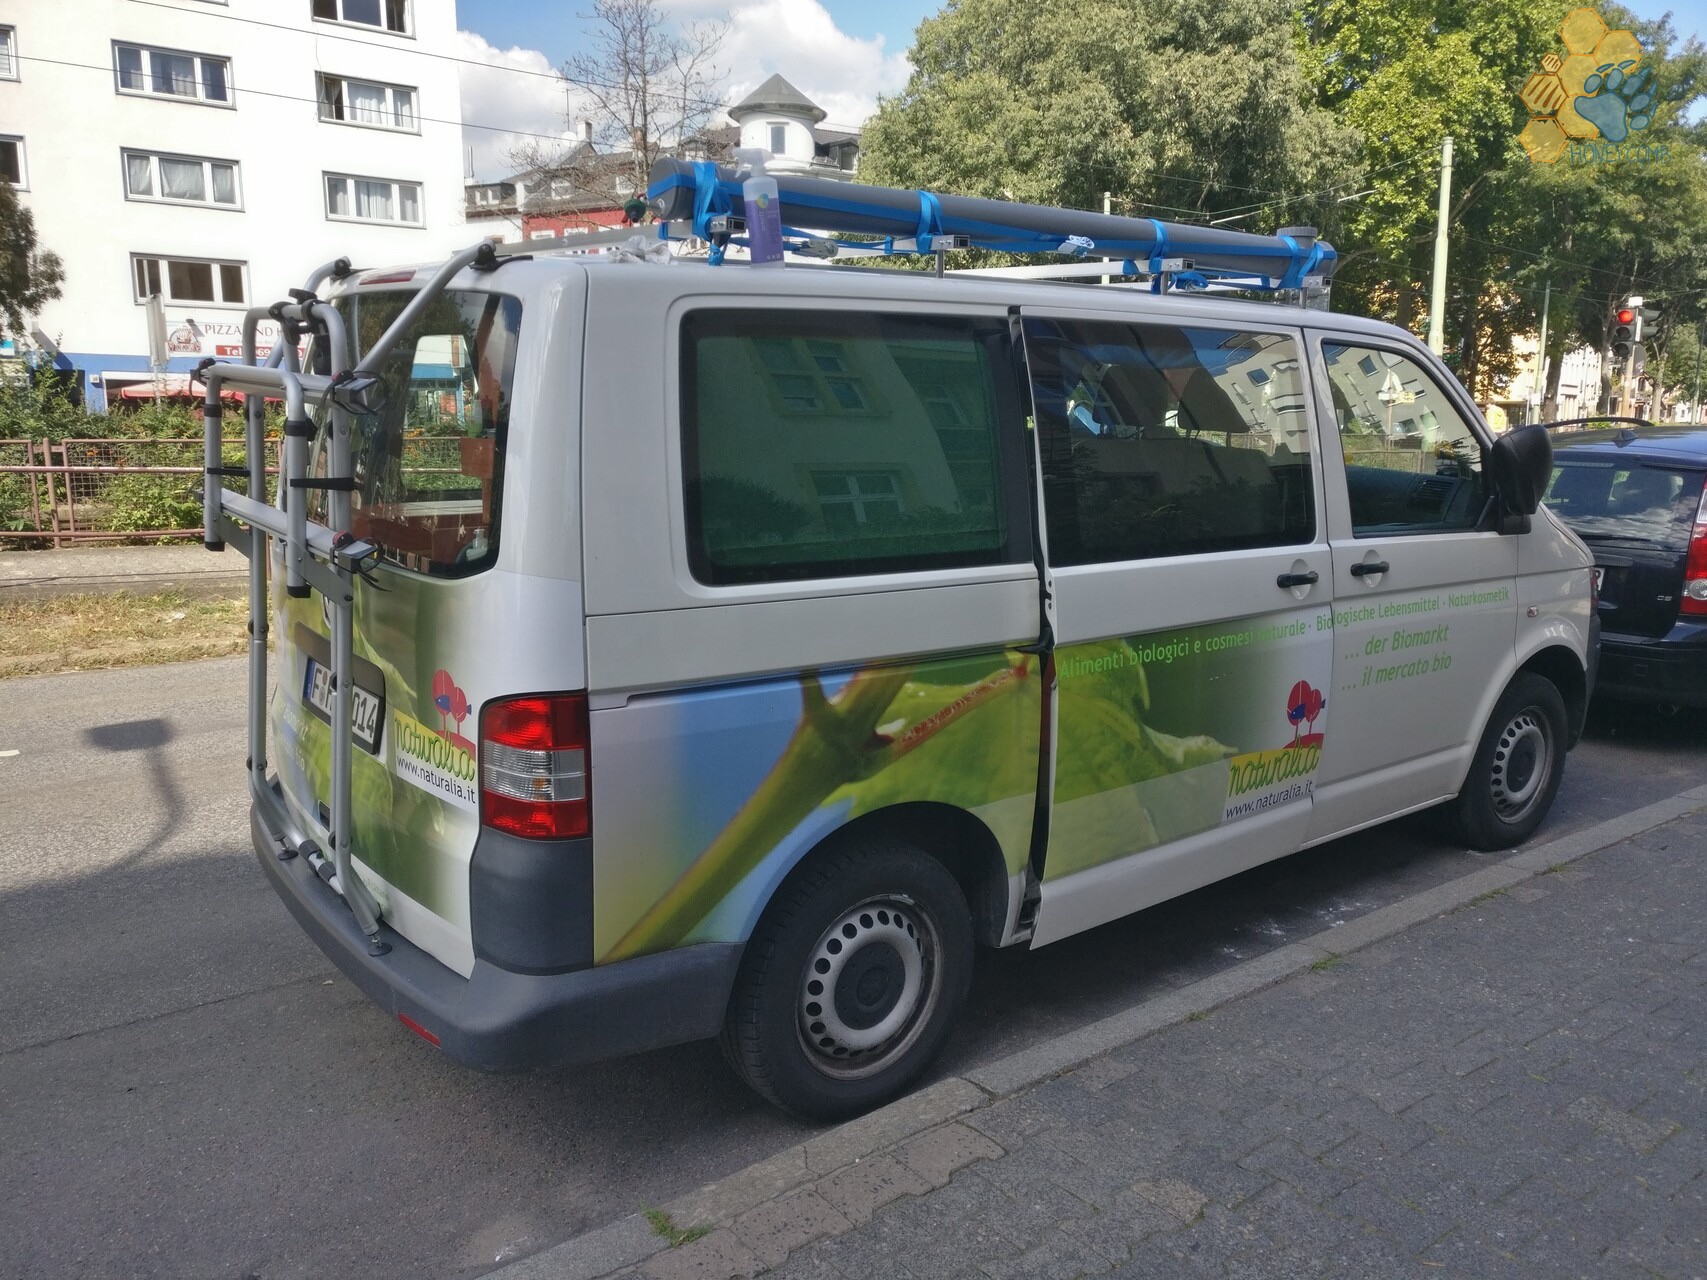
Beside the construction of the roof rack, we order a flat drinking water tank, a huge box that is higher than we need and therefore offers more storage space, the solar panel and tinker the outside shower together. Again and again we put the things on the top of the roof rack, push around and think about where we can fix things best. In the end we decide to put the drinking water tank completely to the back, so we can open the tailgate with bicycles on it without the handlebars bumping. To fix it, we drill holes in the plate, so that we can guide tension belts around the tank. Directly behind it we put the big lockable metal box, which has already riveted guides for the lashing straps. On the left side over the whole side of the roof rack we fix the pipe of the outside shower, whereby we attach it extra diagonally, so that due to the difference in height there is always a minimum pressure on the shower head. On the right side, the vertical roller blind is attached directly to the railing. In front of the box is thus still a large free area. Here, a sloping windbreak is to be created, which reduces the air resistance of the large box and otherwise leaves a lot of space as a roof terrace. The solar panel is glued directly to the box, so that it can be adjusted in the angle. So we save space.
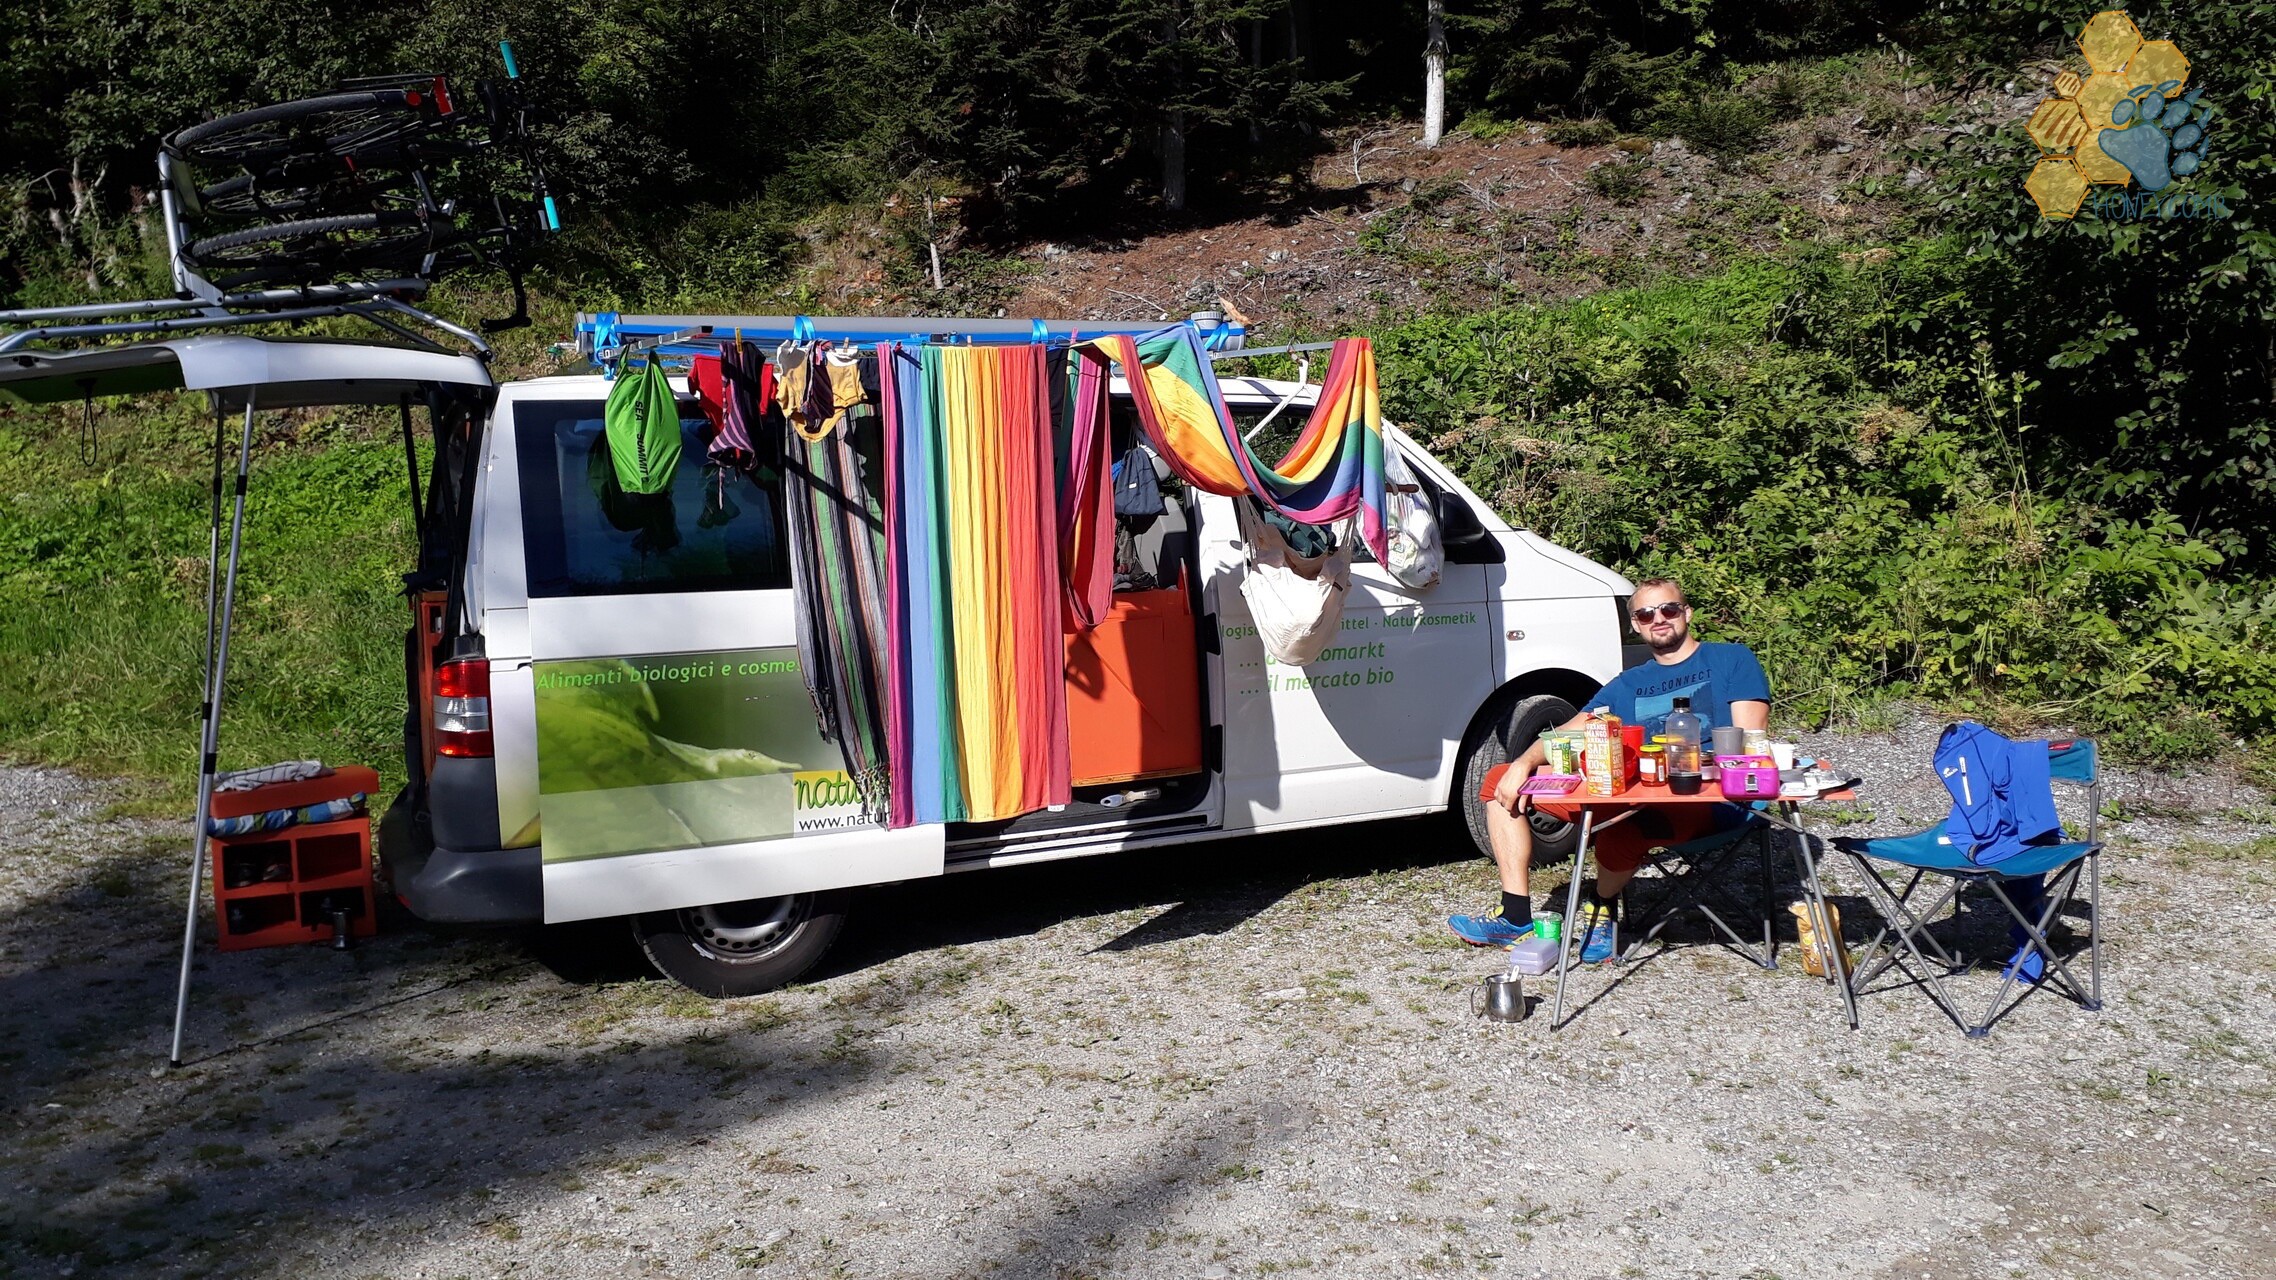
On vacation we test the cross profiles, hang the little one with her own hammock on the cross bars. We stretch a big clothesline and during the rainy days we have a tarpaulin. Everything works and we are excited about the possibility of moving out.


Interessant, was ihr aus den Querprofilen gemacht habt. Ich möchte auch gerne Querprofile erstellen lassen, bin mir aber nicht sicher gewesen, was für eine Platte drauf kommt. Eine Siebdruckplatte scheint eine gute Alternative zu sein. Vielen Dank für den Beitrag.
Danke für dein Kommentar! Die Siebdruckplatte hat sich sehr bewährt, aber man sollte unbedingt darauf achten, eine mit rauher Oberfläche zu wählen. Andernfalls ist es bei Feuchtigkeit sehr rutschig! Viel Erfolg beim Bauen!