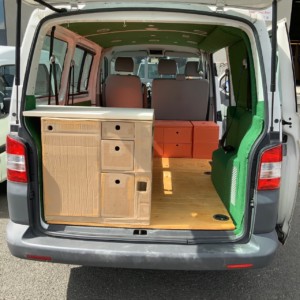
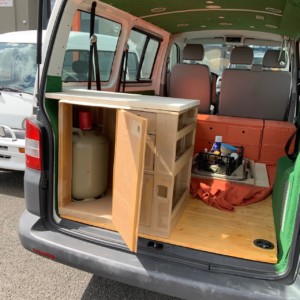
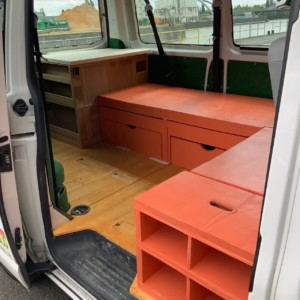
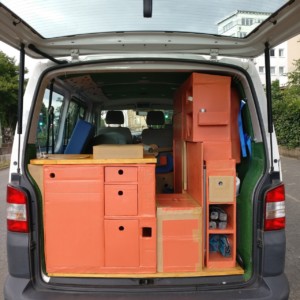
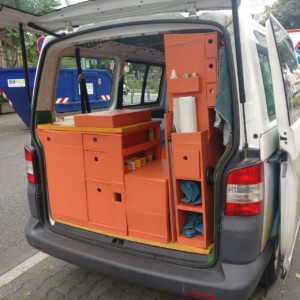
Now it becomes serious. We have practiced enough. It all started with the shoe rack and then we even managed to make a long board for the bed. But now it’s time for the kitchen. We want to build a small fine and functional kitchen. The kitchen should have a gas stove and a sink with attached waste water tank. Next to it there should be space for spices, oil, cookware and some supplies. To make the stove really heat-resistant and fireproof, this time we combine our CarTon project with wood to make a real worktop.
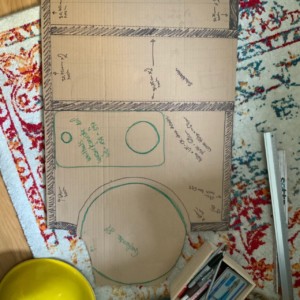
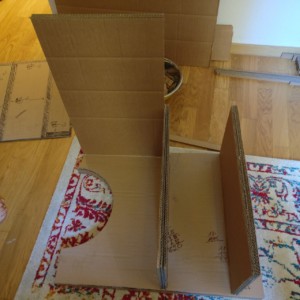
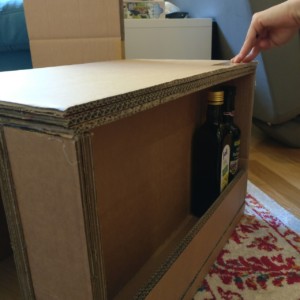
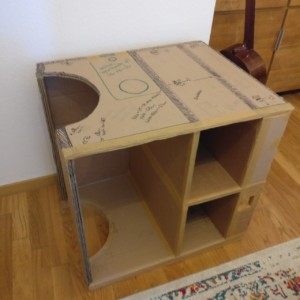
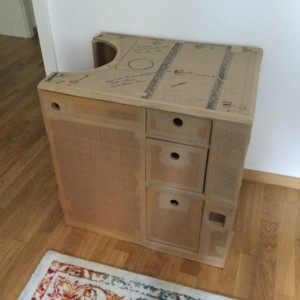
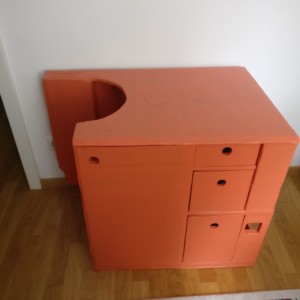
The kitchen is not just a box or a board, nor should it have drawers and a door. It is also the first piece of furniture with round components. So we have to make every single part, every shelf with intermediate shelf and side walls separately. Again and again we measure and cut everything step-by-step and glue it directly on. Of course we still glue ourselves, but because our material is cardboard, we can remove the wrong parts and glue them in the right place. @bee cuts and I glue and so it goes fast and the box stands. We have also meanwhile correctly practice.
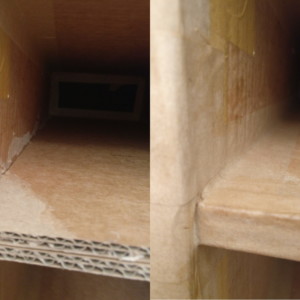
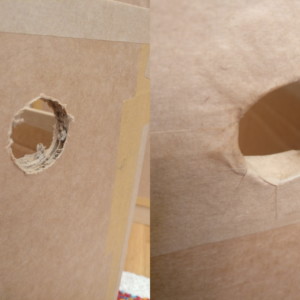
Then it goes to the moving parts. Several layers of cardboard form the door, which is simply glued to the box with several layers of paper packing tape. The tape is the hinge replacement and works surprisingly well. Even after two years of use we still had no problems. To fix the door, two magnets are glued to the other side of the door and to the box. The magnets are also fixed with several layers of paper tape. The tests show that the door remains firmly closed. @bee puts the drawers together while I start taping everything. This is quite a nice job with this angled module. But you can see the difference, it is worth it. Not only does it enhance the look (see the detail photos) but also the stability is increased. The first part is finished.

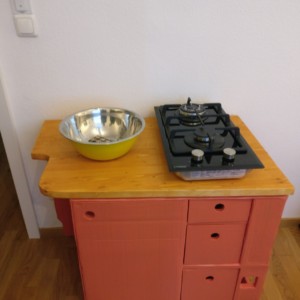
Next part is the worktop. We put the kitchen in Nito and measure everything exactly. We cut out a cardboard template and only when it fits, we use it to cut the worktop. This is then finely sanded and oiled. After 24 hours drying time, we oil it again, while we paint the rest of the box in our typical orange color. For the transition, we glue the plate to the box. Finally we have to loosen it again.
It takes some time until we order the stove, we know what to do with the gas and which sink and tap we want. It takes a little bit of courage and many decisions have been made, but then it goes on. We take an old salad bowl and drill a hole with a hole saw big enough for the drain valve to fit in. This is our sink. With the correct measurements of the stove and sink, we saw the holes into the wooden plate with a jigsaw. We had to do a little jigsaw puzzle beforehand to make sure that the two elements fit on the rather small wooden plate and still guarantee stability. We are lucky again and it fits exactly.
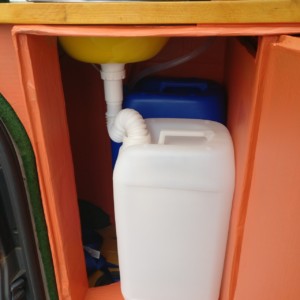
It is sawn, sanded, oiled, cardboard is cut and then the sink, tap and stove are inserted. The water tap works as a switch and is connected to the submersible pump in the water canister and the 12V power supply. When the tap is turned, the pump reaches electricity and the water starts to flow and this also with a good pressure. To get the water from the water canister to the tap we use a 10 mm PET drinking water hose, which is fixed with clamps. The drinking water canister has its own sealed recess for this purpose and therefore cannot leak. We currently have 30 L of drinking water, which will not be enough for our trip. Therefore in the future another tank will be placed on the roof rack. But more about this later.
The stove is connected to the gas protection valve via a special gas hose and thus to the gas bottle – an 8kg bottle. These are only connected when cooking, otherwise the bottle is turned off and separate. The bottle is attached via tension belts and extra lashing eyes, which are attached to the edge of the trolley. An exchange is only possible when we take out the drinking water containers. Gas is very dangerous and should only be installed by a specialist. It also requires a TÜV approval. Therefore we do not give any recommendations here and do not give any guarantee.
The stove is protected with another CarTon box, which is removable. If we don’t need the stove, we can hide it, don’t bump into each other somehow and use the surface as a shelf. So we also use the sawn out part of the wooden plate to give the sink a lid for storage and the like.
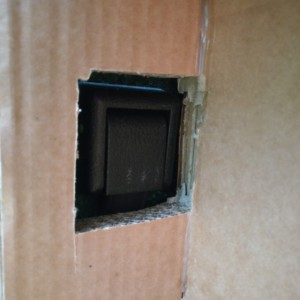
Even later on, we always add small covers or compartments in order to use cavities or hide insights. With the cardboard this is super easy, because we only have to cut it to size, glue it on, mask it and paint it and it looks as if it is all of a piece. For example, on the back of the kitchen, accessible from the inside, there is a deep compartment up to the hubcap, which offers space for many small items such as handkerchiefs.
Our kitchen is also removable as a module and so we can cook in the green directly outside. With so much work you get hungry and so we throw something into the pan for now…
used tools
- cutter (carpet knife)
- hot glue gun
- metal ruler (50 cm)
- bricklayer angle
- sponge cloth & water bowl
- circular saw
- jigsaw
- grinding machine
- pipe Wrench
- silicone syringe
used material
- neodymium magnet plate
- sandpaper
- wood oil
- corrugated board
- wet adhesive tape
- hot glue cartridges (alternative: eco-glue or wood glue)
- water-based paint in RAL2012 color
- salad bowl
- gas stove
- 12 V camping water tap
- 12 V submersible pump
- 30 L drinking water canister
- 25 L drinking water canister
- 10 mm PET drinking water hose
- various screws
- sealing rings
- silicone
- siphon
- drain valve
- lashing strap
- lashing eyes
- wooden board


