We have searched for a long time and found nothing suitable. The choice alone whether it should be a compressor or absorber refrigerator or a freezer was already difficult. We had an electric freezer and it was just a temporary solution. It needs way too much electricity, runs constantly and is loud. That is really only something for a short trip and low heat.
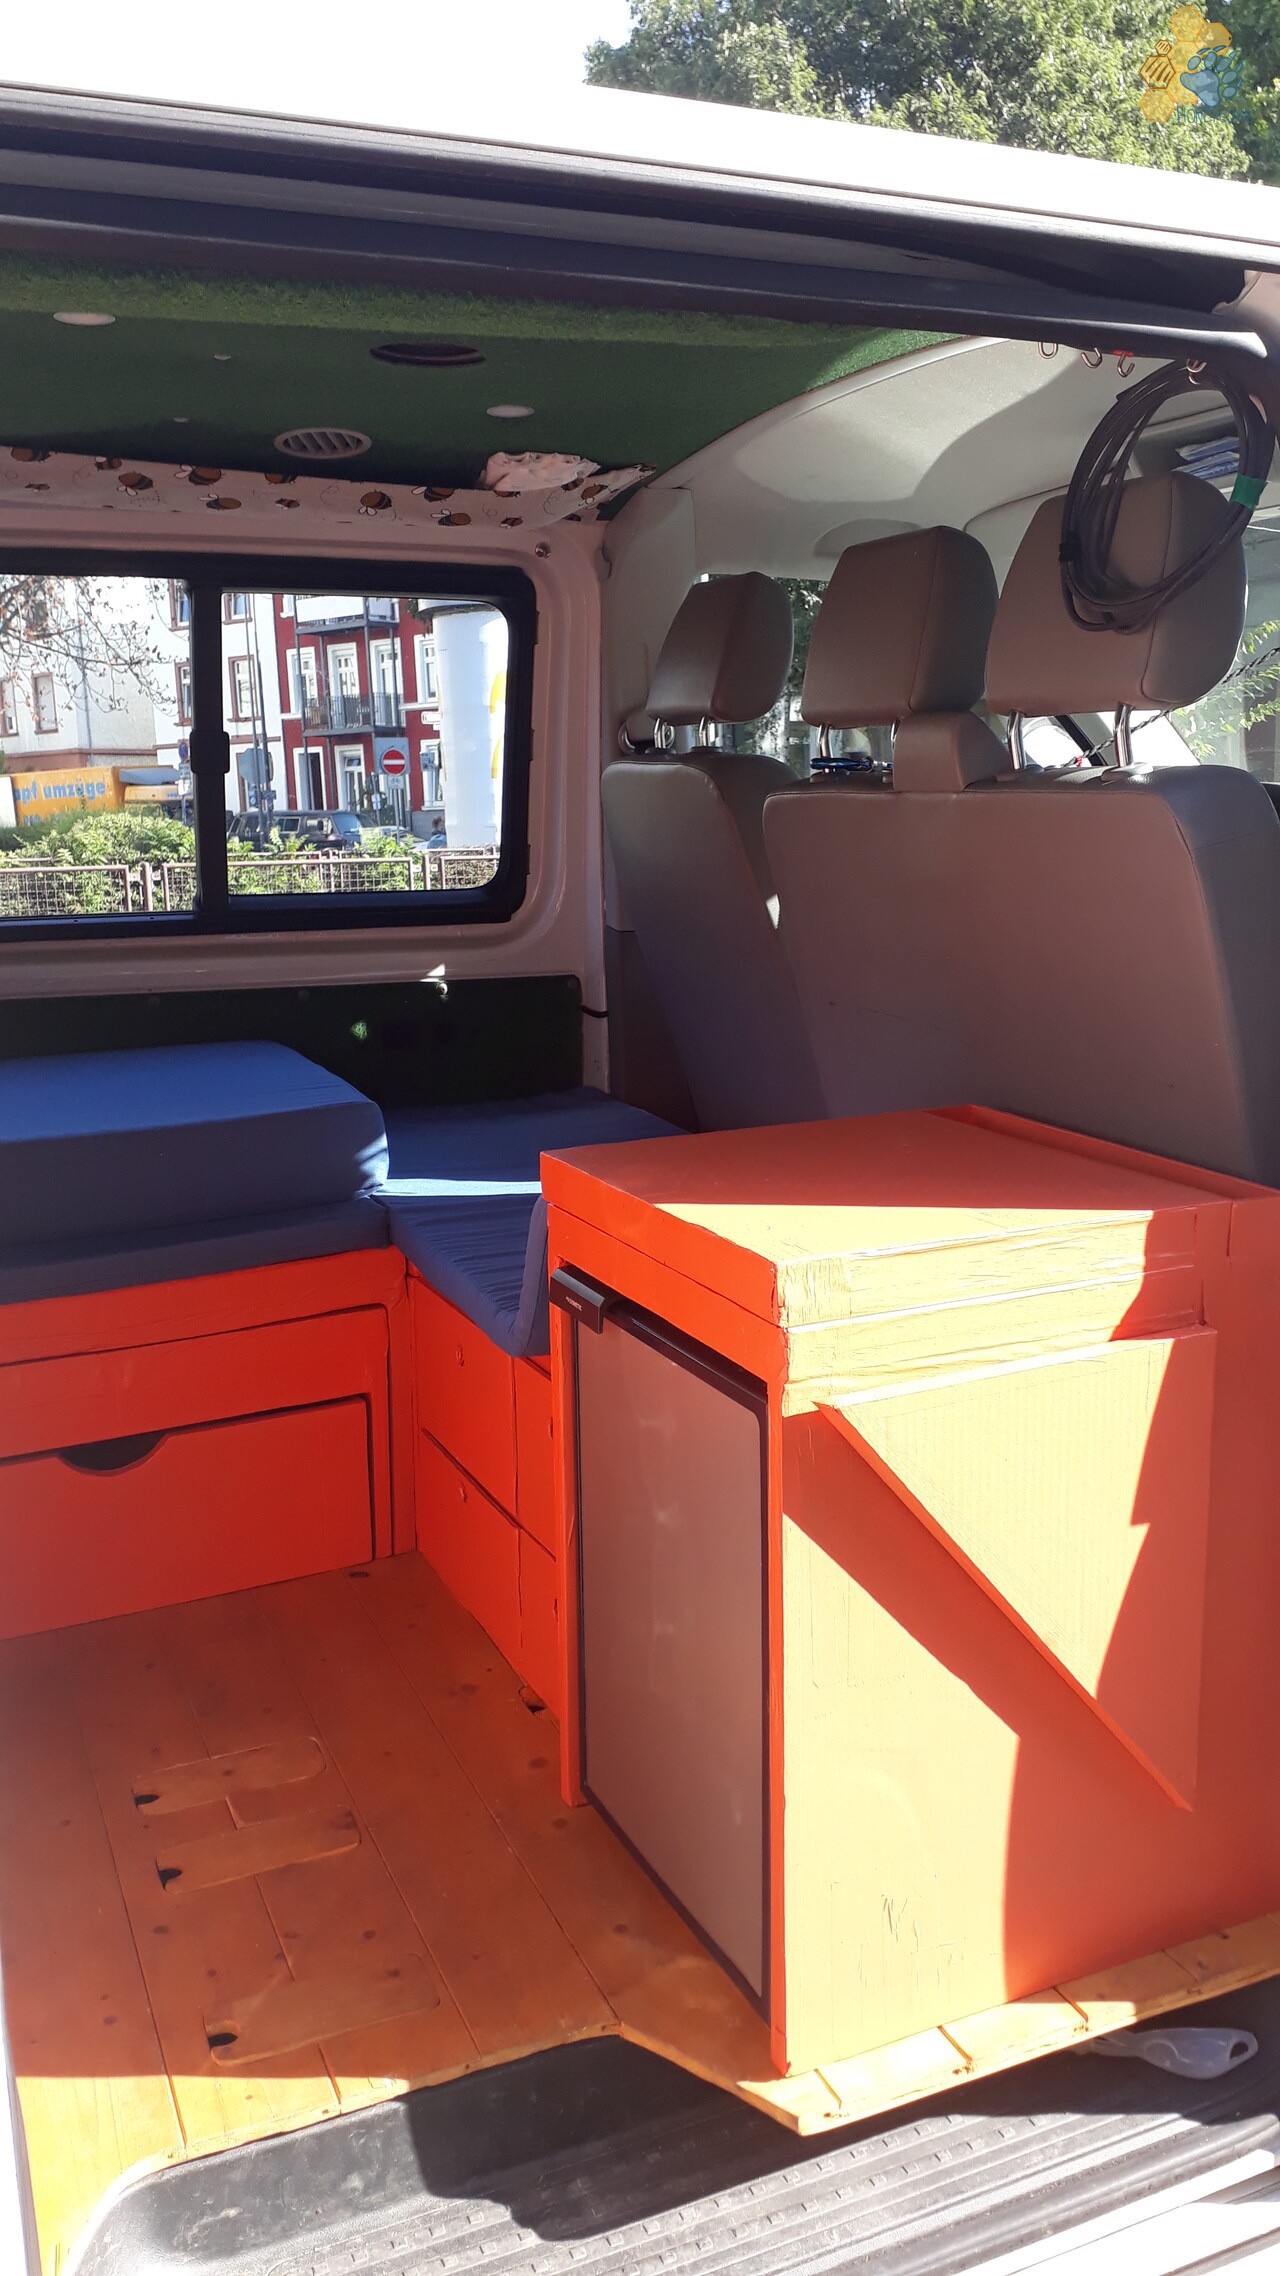
We decided to use a compressor refrigerator, because it needs less electricity than an absorber and we certainly don’t want to run it with gas. The technical values are simply better. We also waited extra until winter to get cheaper prices after the season. We had always thought about where to place a refrigerator in the bus, but we never decided. When all the CarTon modules were finished, there was only one place left and we just couldn’t find a fridge for these dimensions. They were either too small or too expensive or too big. The list was long, so in the end we decided to go with the Dometic CRE-50 on a gut feeling.
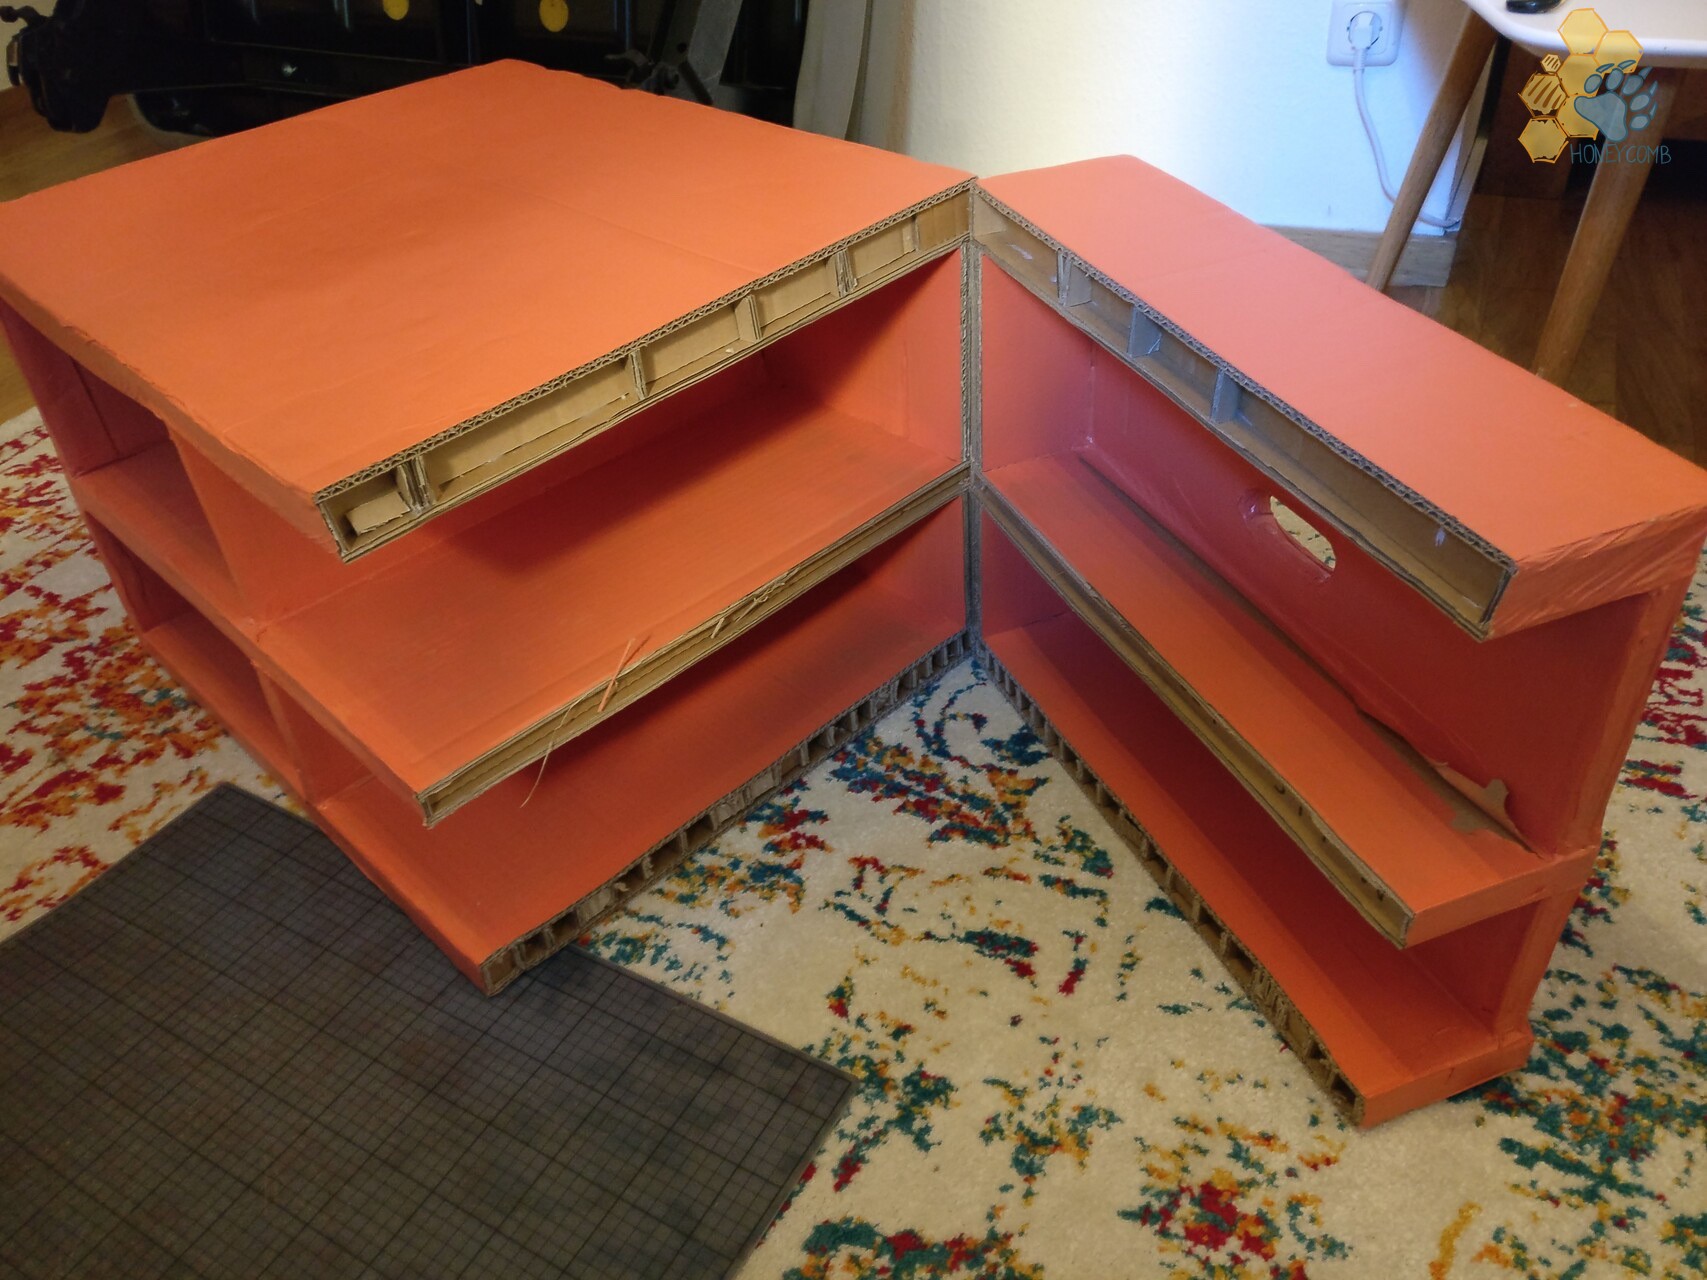
Fortunately, our modules are as they are, because now the decisive advantage of CarTon comes into play again. Cardboard is easy to cut and therefore our modules can be easily adapted. Our new plan is to change the chest of drawers and integrate the refrigerator!
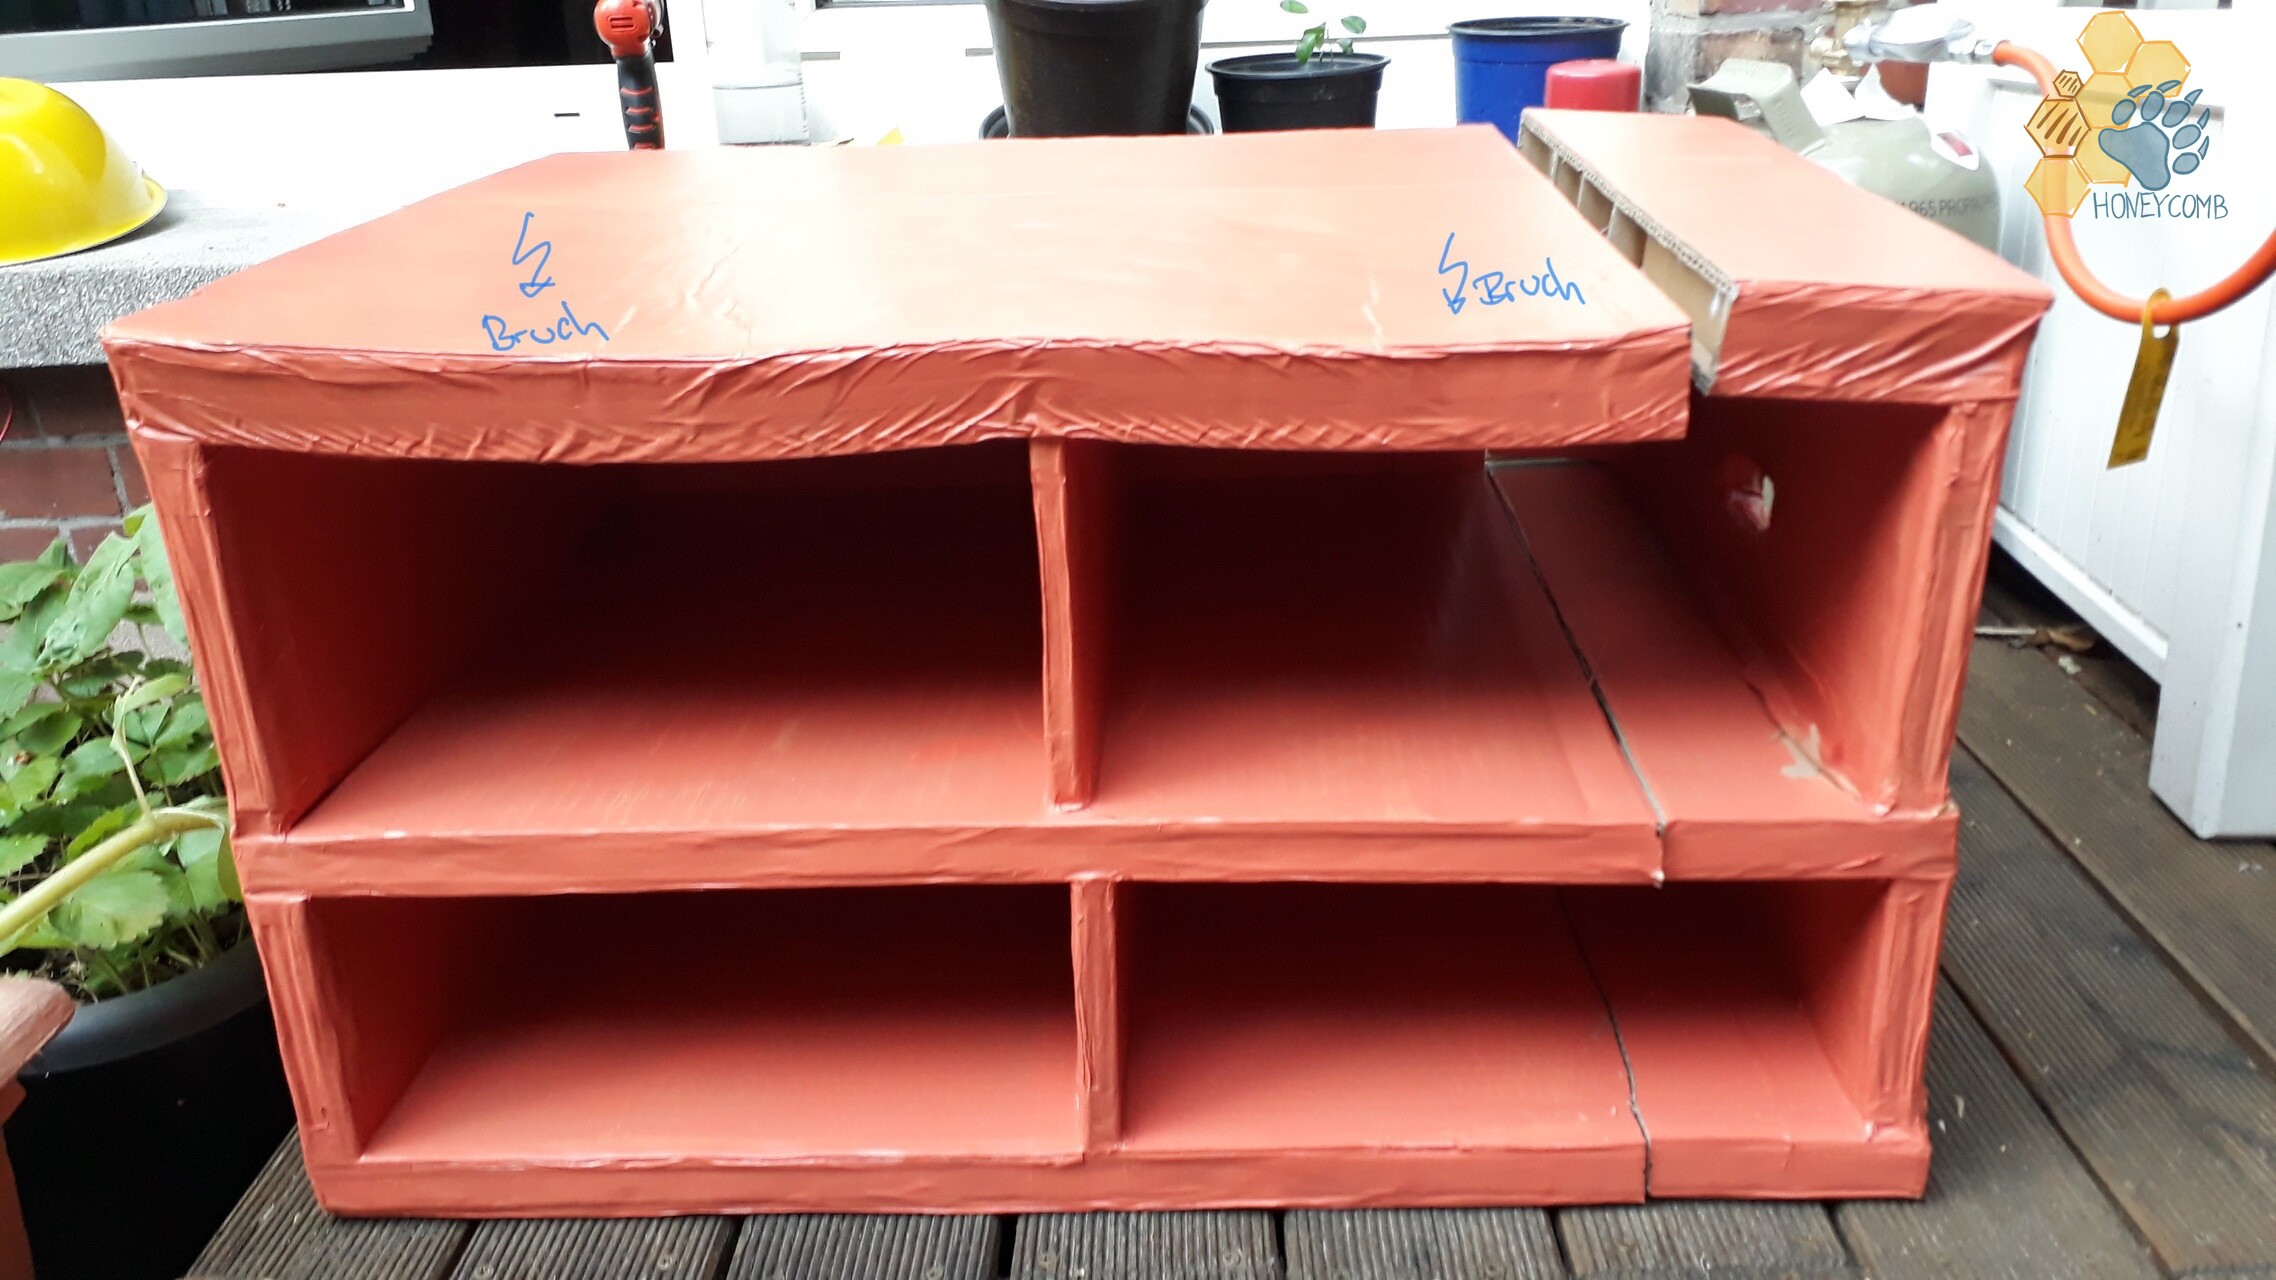
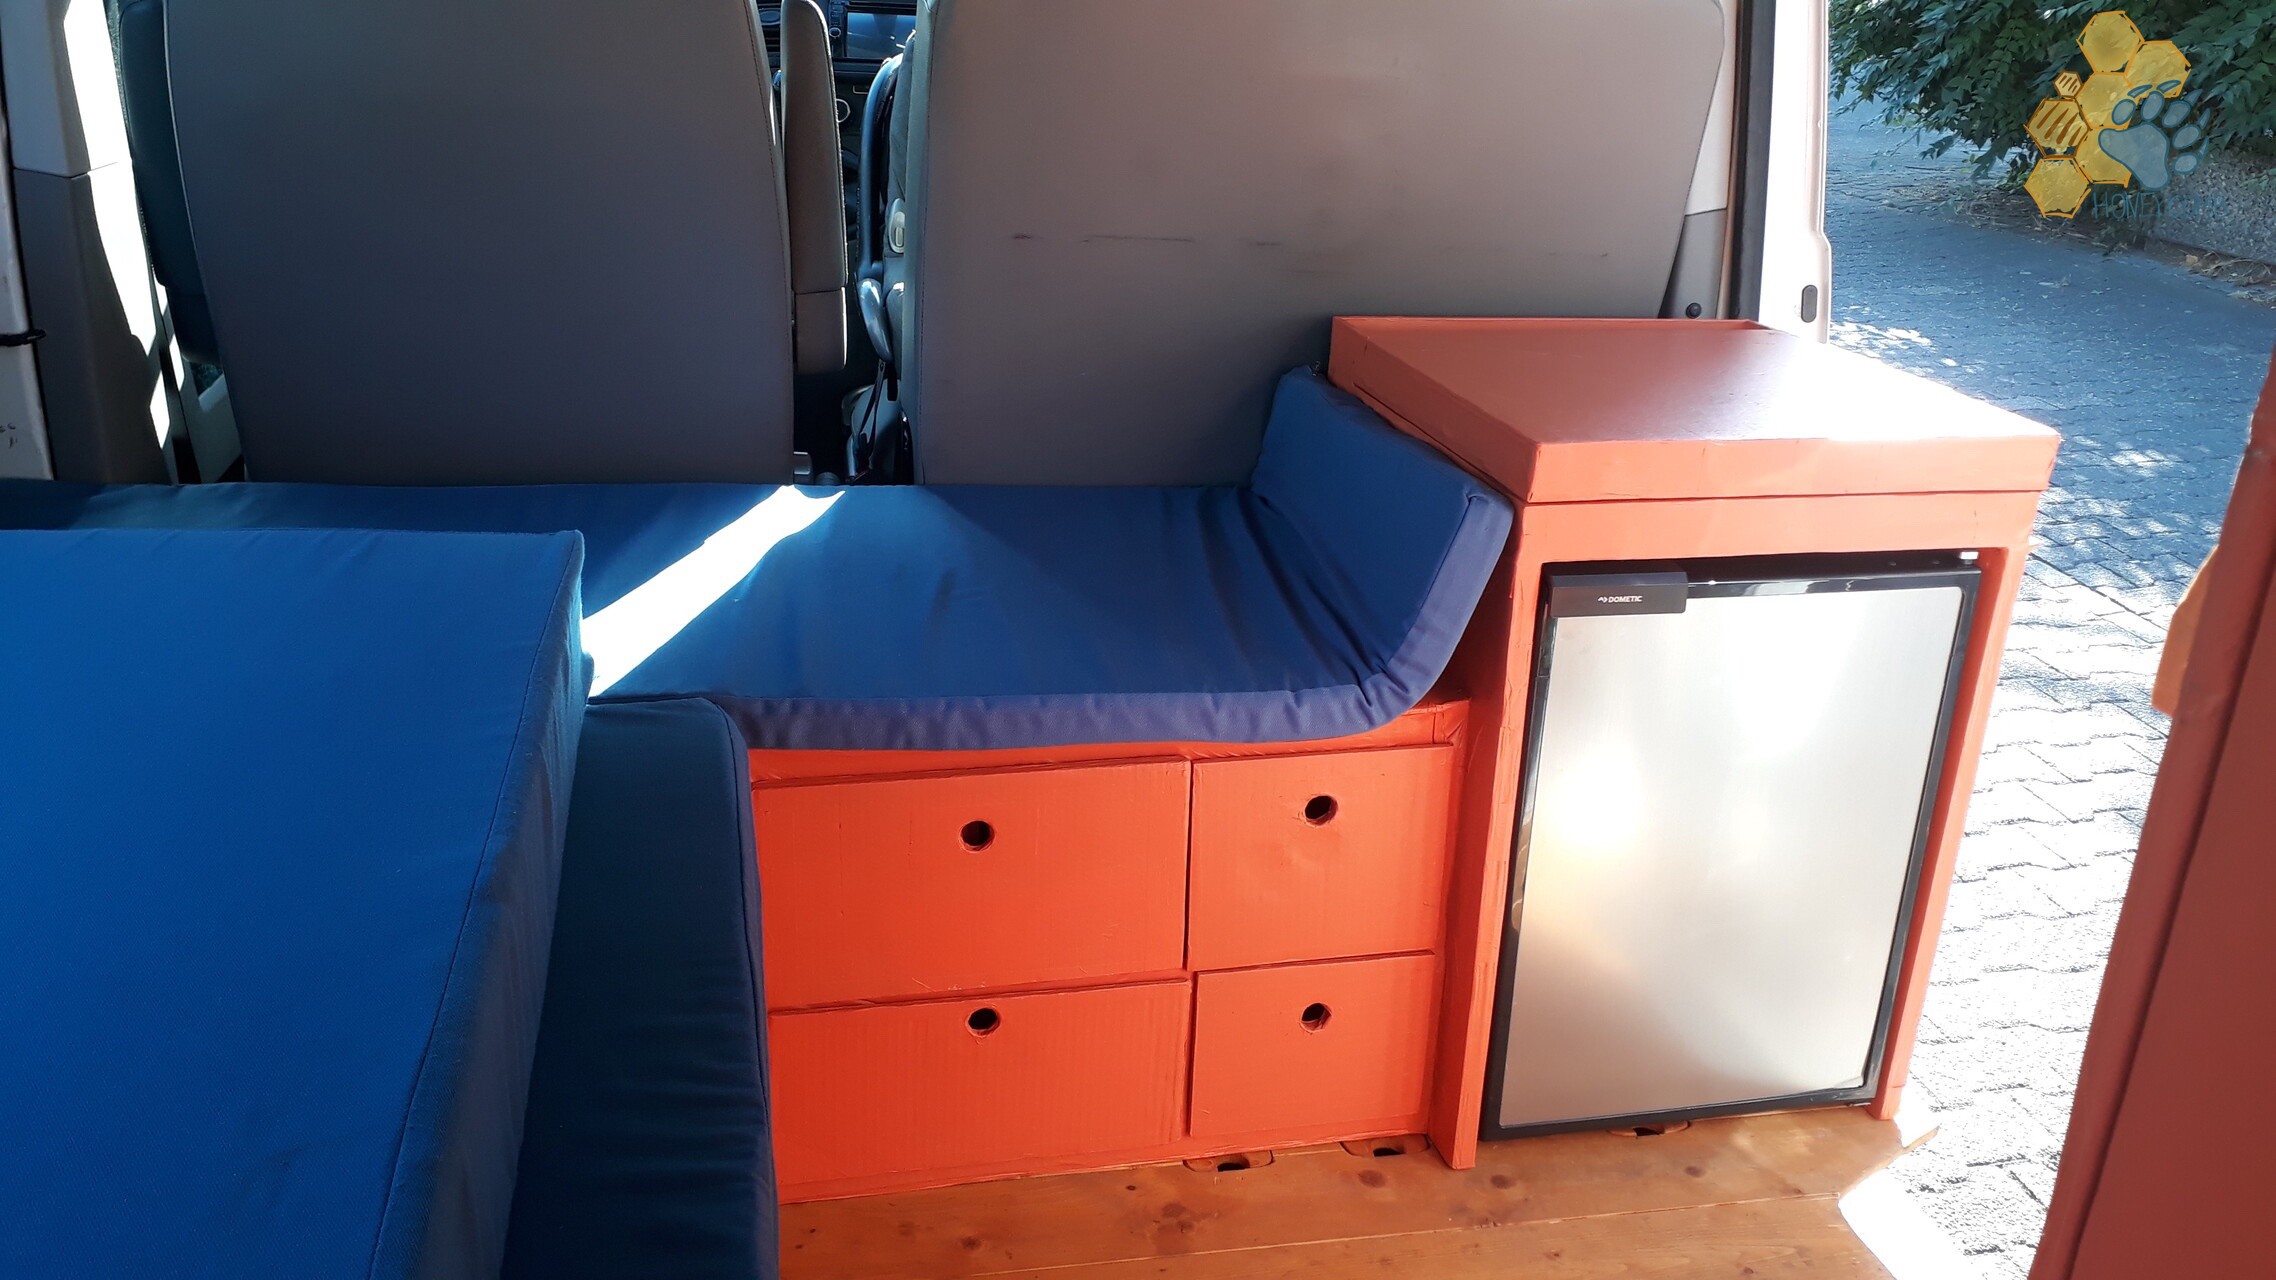
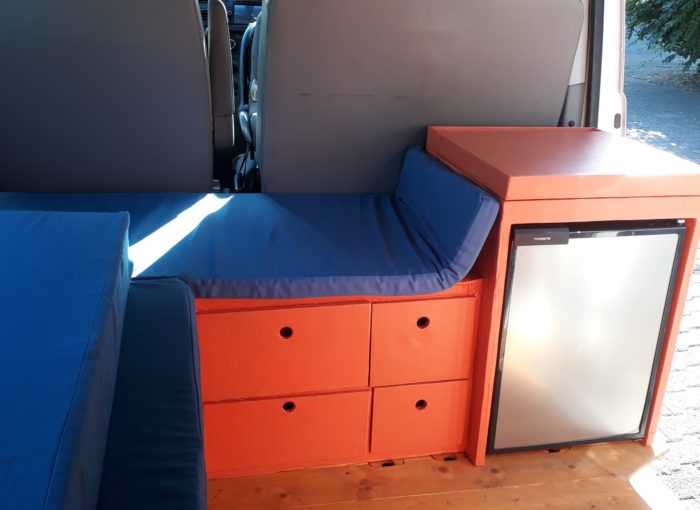
Without further ado, the chest of drawers is cut up and the interior is revealed. It has held up reliably so far, but now it has to go, but is directly connected to a new module. The new module is to serve as protection and cover for the refrigerator and gives us another shelf. The new module is thus the “built-in cabinet” for the refrigerator.
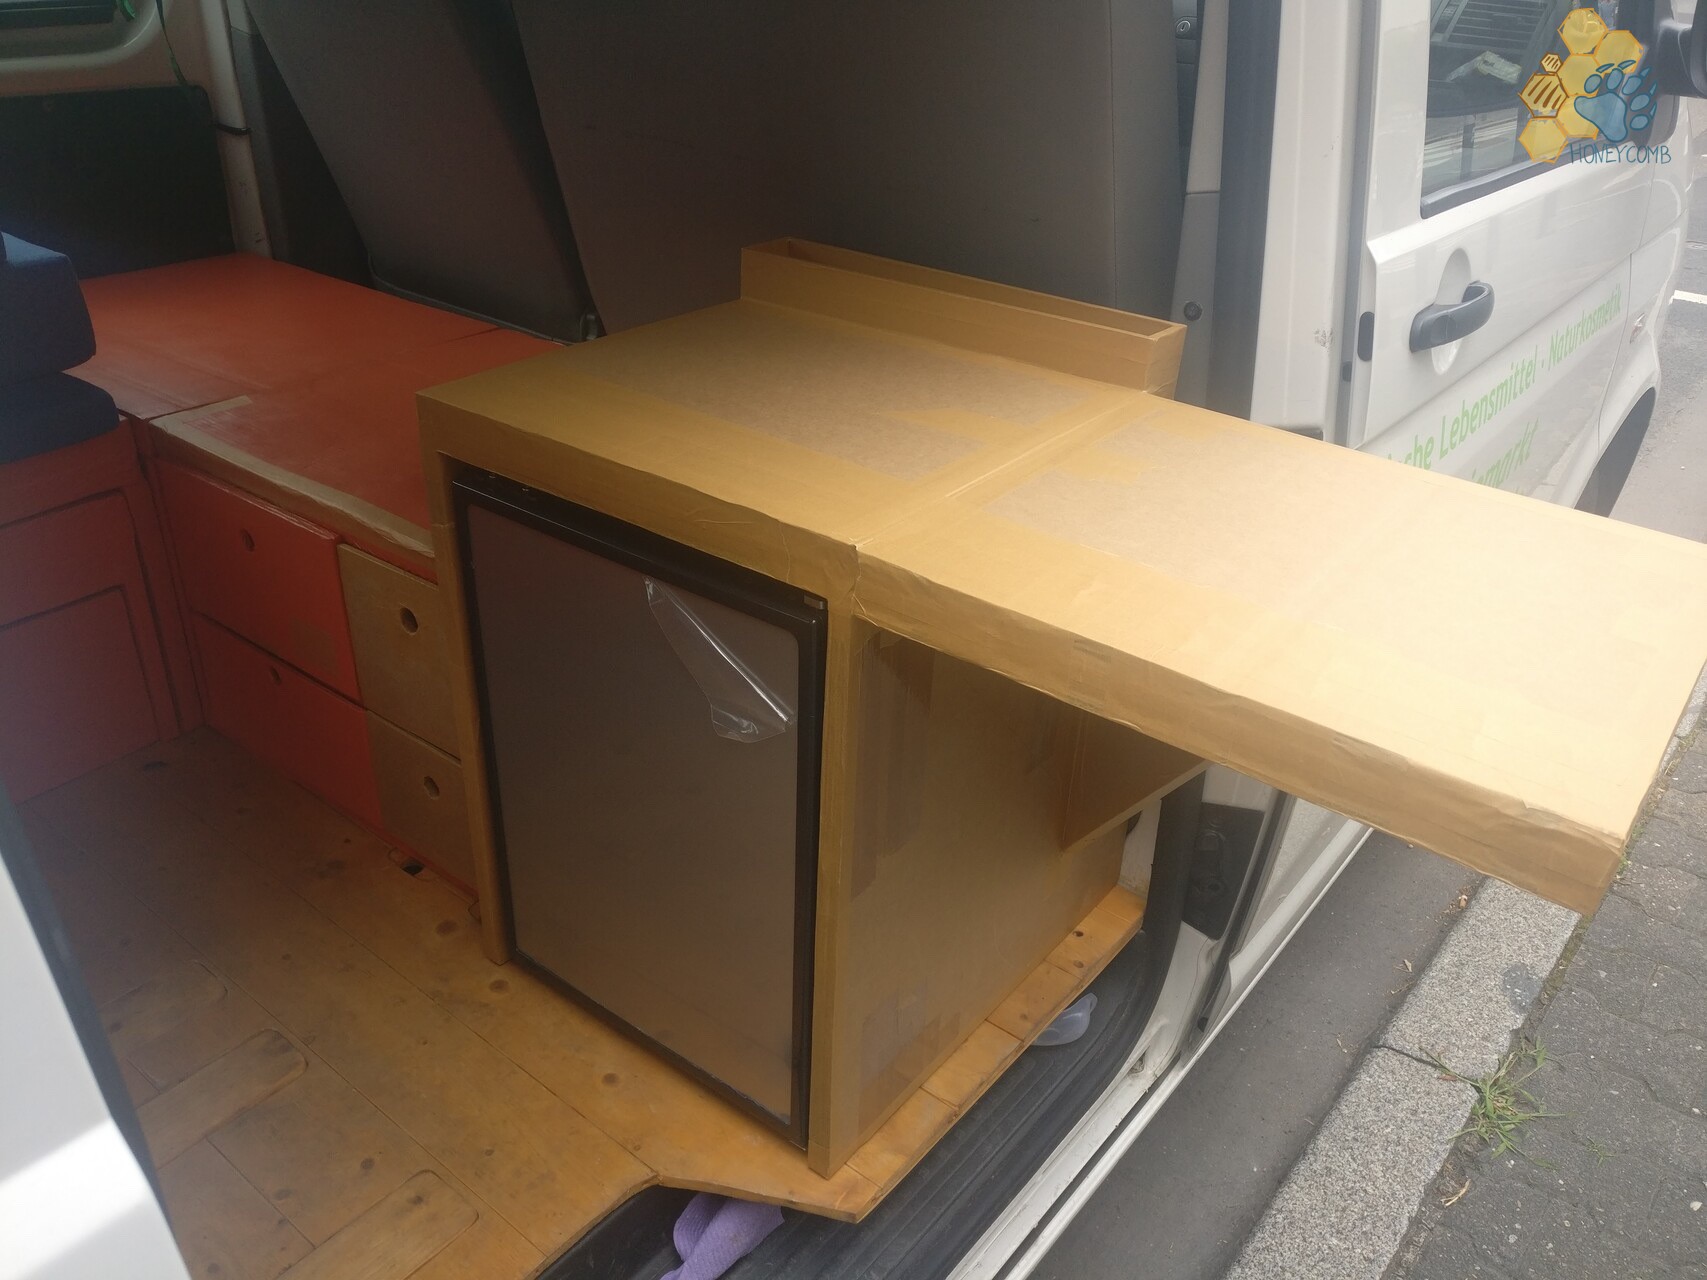
Without further ado we assemble a body. The left side is only cut from a large piece of cardboard and two small ones, which stand directly on the chest of drawers and carry the load. This way the large surface serves directly as a side for the chest of drawers and we save about 2 cm, which doesn’t sound like much, but it’s a lot in the bus. The right side is directly adapted so that the sliding door of the bus still closes. The module of the refrigerator is glued to the chest of drawers and so our refrigerated chest is created.
As a special highlight we tinker the upper plate of the cool fashion once again in a little smaller and stick it to the edge with a few layers of wet adhesive tape. So it becomes foldable (you have to pay attention to the slant of the seats) and we have a small outside table / bar. To increase the stability we also put a triangular and also foldable base on the right side. This supports the table surface and we can also put down some loads. The idea is to use this as a cutting surface for cooking.
Whether folded out or not, there is space above the refrigerator for storage and to fill the gap we have a small open box with a border. Like the top and side of the cabinet, as we found that it is quite practical for keys, cell phone and other bits and pieces.
The refrigerator is connected to the rear socket and the cooling mode is ready to start! On to the next cold adventure!
Excursus: After the first weekends we noticed that the refrigerator only ran when we drove. While standing still, the refrigerator briefly started the compressor and then stopped again immediately. It took us longer to understand the problem and then to solve it. The reason was that the fridge needs 11,8V to start. When starting it draws more current for a short time and if the cable cross section is too small, the voltage drops. The current drops to 8.6V and the starting process stops. We change the cables from 2.5 mm2 to 6 mm2 and the problem is solved. Now the refrigerator goes also in the stand and cools to our satisfaction.