module nr. 04 – the box
Since we didn’t have a suitable box anymore, we had a weekend break from handicrafts. But we still used the time to place the previous modules once in Nito. So we took out the benches and put the modules in. A strange feeling, it becomes more and more real. Step by step we approach the journey. The modules fit perfectly, even though the hubcap still has to be cut out of the seat/bed. But we don’t want to do that until the new wooden floor is in and the right dimensions can be reproduced. Nevertheless, we took measurements to get a feeling of how big the cupboard, the kitchen module and the missing storage box may be. Since the kitchen and the wardrobe also depend on the floor, we decide to make only the storage box and the extendable components of the bed and let the rest rest rest. In April we will not be here anyway and will not have time. In May, on the other hand, it should finally be warm enough to install the insulation.
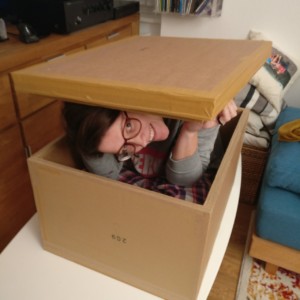
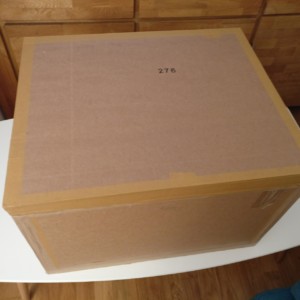
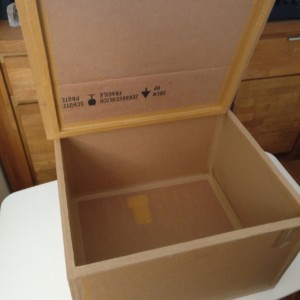
So we organize cardboard again and sit down to build the box. Another piece of CarTon is to be realized. From the principle the box is quite simple, consists only of a bottom, lid and four side walls. We extend the lid with an inner frame, which has the same dimensions as the inside of the side walls. In this way we prevent the lid from slipping, because it is stuck and properly clicks into place. With cardboard it is very easy to cut it to fit exactly. For the lid and bottom we have again used the grid technique and this time we have documented a little bit:
Creating the grid is the most tedious work on the respective modules. In addition to cutting the individual strips to size, there is also the individual gluing of the many individual parts. But if you try to keep the same distance for the strips, you can make them very quickly with the bricklayer’s angle or other spacer (e.g. long piece of wood). Then only the gluing is a bit laborious, but also meditative. The bricklayer’s angle serves as a spacer and so we can cut the strips directly and evenly without dimensions. As soon as the CarTon boards are ready, we glue three equally cut boxes together to form a side wall. No grid needs to be inserted here, as the loads are already carried by the corrugated cardboard structure. Now we glue the whole thing carefully and accurately to the floor. This is done super fast with hot glue and so we save ourselves the purring and waiting and can fix the next wall after about 2 minutes.
Then the module – like the others – is glued with paper tape and each corner, gluing surface and kinked surface is covered. In addition to the paper tape, we now also use wet glue, which was recommended to us. This is not only a little cheaper, but can also be cut to size and folded before gluing. Only as soon as one side is moistened, it unfolds its adhesive effect similar to a stamp or envelope. At the beginning this seems rather cumbersome, but we soon realize how advantageous it is to be able to prepare the adhesive surfaces. Especially in the inner area it is finer with the pre-bending and smoother, clean edges can be realized.
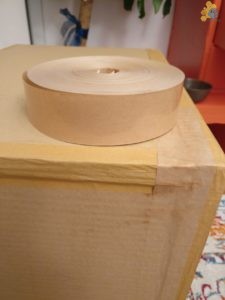
As soon as the wet glue sticks, you should go over it again with a damp sponge and smooth it all down. The moisture does not bother the cardboard and we notice that the edges are much cleaner. When the wet glue is dry, it is also increasingly difficult to distinguish it from the rest of the cardboard. The tape disappears in relation to the packing tape (see picture). We will continue to experiment with it and see how fast we are with it.
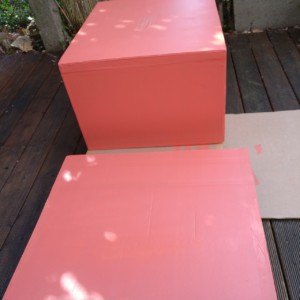
Next, paint the box and make the extendable modules….
Used Tools
- Cutter
- Hot glue gun
- lineal of metal
- bricklayer angle
Used Materials
- Cardboard
- Tape
- Hot glue gun patrons
- Varnish
Important note (14.10.2020): We have noticed that over longer use the wet adhesive tape clearly lasts longer! The dry one often dissolves with moisture at the ends and rolls up slowly after a while. We only use it for the handicraft process when holding it for a short time, e.g. when gluing two parts together. We recommend wet adhesive tape for long-term pleasure.


