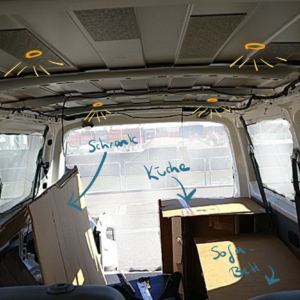
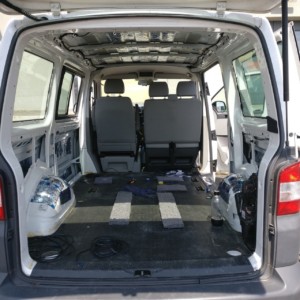
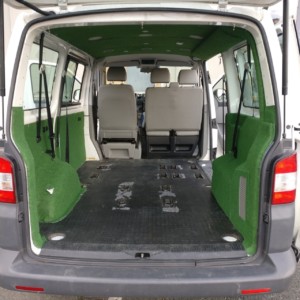
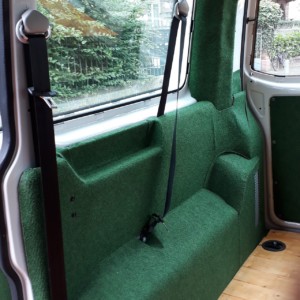
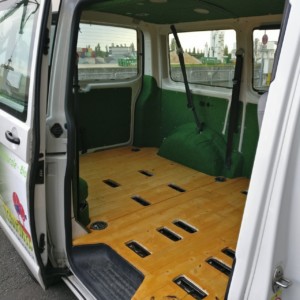
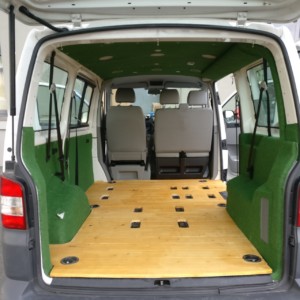
We spent many hours to build and plan the furniture and with the floor we finally started. We are working directly on Nito. But that was only the beginning, now the actual interior work follows. The idea is to insulate it with Alubytl sound, to fight cold and heat with Armaflex and to cover and embellish it with green carpet. In addition, cables are to be laid in order to be able to guarantee the entire electronics of the mobile home later.
We took a whole weekend to do this and a friend of @bee came as support. On Friday after work we already removed all the fairings and took off lights and belts like we did when we met. Everything was loaded and cleaned up to be prepared for Saturday.
thermal isulation
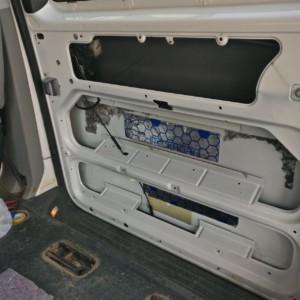
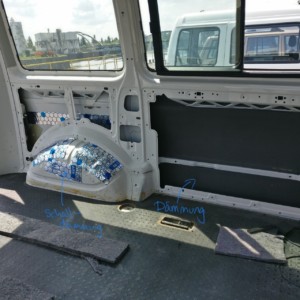
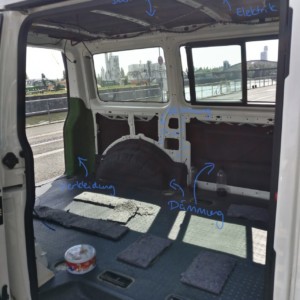
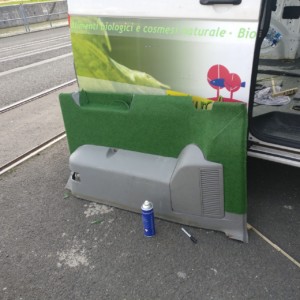
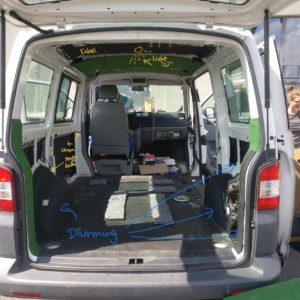
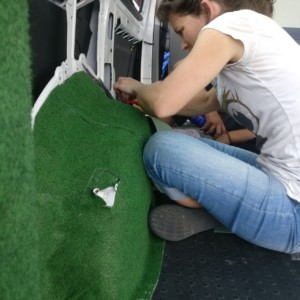
On Saturday, the three of us went out for the preserves. While I glued Alubytl-discs (self-adhesive metal) on the larger surfaces of the top and sides to reduce vibrations and thus the noise level in the car, the girls prepared everything for the disassembly. This was done quite quickly and did not cause any major problems, unlike the thermal insulation that is now coming. We used self-adhesive Armaflex for this because it is highly recommended and the material characteristics make it very suitable. It is also waterproof and therefore acts as a water barrier to prevent rust on the bodywork. We started with the large areas, took measurements and cut them out of the large roll. Since there are large cavities behind the cladding, we chose thick Armaflex with 19 mm and for the insulation in front of the cladding Armaflex with 9 mm. The three of us simply cut the layers to size and glued the ceiling panels neatly together. So we split up again and @bee took care of cutting the green carpet for the cladding elements and applying it with spray glue.
Slowly and bit by bit we filled the body with insulation. I was amazed how many spaces and surfaces were not visible and at the edges of all sides. These small, twisty areas require a lot of fine tuning and even more insulation. Again and again I scraped my hands. It is quite a big fiddle to get into all corners and then to loosen the protective foils and to apply the insulation at the desired place with a light pressure. We took care not to close the breathing holes of the bodywork and the water drain, so that we avoided waterlogging and rust. The curves of the hubcap were also a bit more complex, but it went slowly, very slowly.
elektric
I will add more details about the exact electronics in an extra article later. But already here we had to lay a part of the cables for the later supply. We wanted to install an additional battery to power our upcoming refrigerator, the interior light and the 12V sockets. The LED lights, the light switches and sockets already had to be laid and the cables had to be led up to the passenger seat. Under the seat – so the plan – the battery and fuse should be installed. We have six LED lights and want to install two in the rear area for the future kitchen, two in the interior for the table and two in the front area as reading lights. Each row should be able to be switched on and off separately. The sockets are on the left side, the light switches on the right side directly at the sliding door, so we can easily reach them from the outside. Each socket can also be switched on and off by a switch. So I wired and brought everything together and put it behind the panel under the passenger seat to be able to connect it there. But as I said more about this again separately…. For the removal we had to drill additional holes in the fairing elements and attach the sockets and lights. We removed the small inserts for the trash cans, because we don’t need and want to use them anymore. Because I needed longer with all the cables than I had planned, we had to continue on Sunday.
the cover
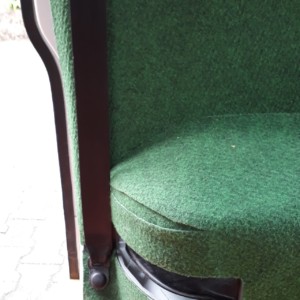
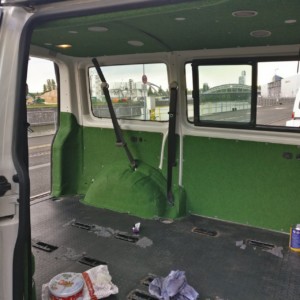
Originally, we wanted to insulate and cover everything, including the edges of the windows. Since the carpet turned out to be not so flexible and we used to equip our curtains with neodymium magnets and had hooks that could no longer be used, we spontaneously changed our mind. New goal was to cover the large areas and leave the rest free to use the magnets. Since we wanted to build a cupboard in front of one of the windows (back right), we made a mobile insulation and inserted it. The insulation is glued to a cardboard box and covered with green carpet, which fits exactly into the window. With the spray glue @bee got to work and even glued the hubcap neatly, which took a lot of nerves but produced a very good result.
Again with the wooden floor we directly got the desire to start driving. The living climate is now visibly noticeable and we are bursting with pride to have done the whole thing in two days. It can go further….
used tools
- Cutter
- brush cleaner (for cleaning the car body)
- screwdriver
- drill
- circular saw
- hexagonal keyM8
- cable clamp
- scissors
- ratchet with various Allen wrench attachments
used materials
- Alubytl sound insulation
- Armaflex 19 mm
- Armaflex 9 mm
- carpet 6 rolls per 1,2 x 4 m
- glue 4 x 500 ml
- cable 2,5 mm 25 m
- 2 x USB-sockets 12 V
- 2 x 12V-sockets
- 5 x rocker switch
Important note: We had spray glue that should last up to 50°C. Just one week later we had a huge heat wave and in the car it was over 50°C for days. As a result the fairings came off in some places. To prevent this from happening (and so we did it again afterwards) it was absolutely necessary to spray both sides (both fairing and carpet) well with spray glue. The strength increases again. Since then we have had fewer problems with it.


