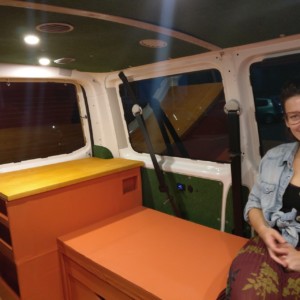
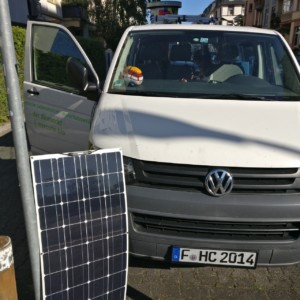
The furniture comes piece by piece, it is insulated and covered. We have also installed lights, laid cables and connected switches (see interior fittings). But it hasn’t worked yet and we haven’t tested anything because nothing has been connected so far. We were still missing the necessary parts and these had to be ordered first. But now that everything is there, we can connect it together and try it out.
Whats the idea?
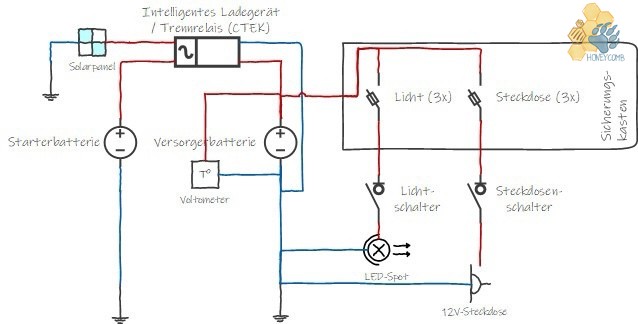
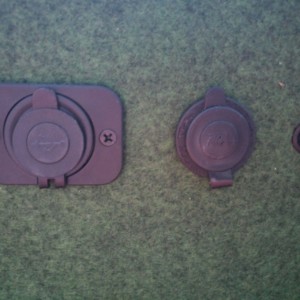
We want to have light in our car as well as sockets for charging our laptop, tablet, smartphone and camera, but also other 12V devices. We also want to install a refrigerator or an electronic cooler. All this needs electricity and we get it from a second battery (utility battery), which of course discharges. It will be charged by the alternator while driving a car, later on also with a solar panel. So we plan the electric circuit so that we can extend it later. We deliberately decide against a circuit with 220 V, because this would mean we need an expensive current transformer. Current transformers transform the current from 12 to 220 V with high losses. Most devices do not need 220 V and transform it back down to 12 V. So it is a little bit pointless to install a second circuit.
How did we do this?
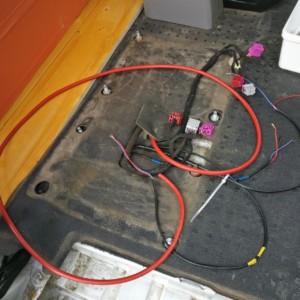
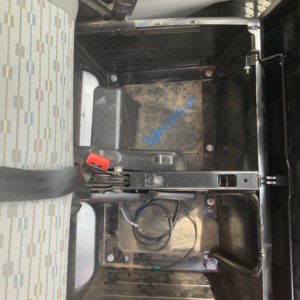
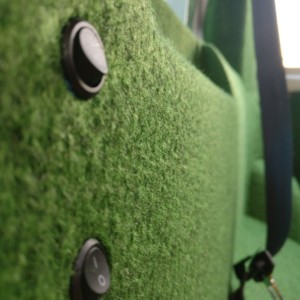
As already mentioned, we installed all lights and sockets directly into the fairing and pulled all cables to the desired position of the switches. There we disconnected the +-cable and interrupted it by the switch. This goes to the light or socket, and then the – cable is pulled back to the front to the utility room. We could also have connected the – cable directly to the bodies, but I wanted to connect everything directly to the battery at the end. We pulled the cables along the already existing cables for ventilation, rear lights, etc. and laid them down on the B-pillar down over the integrated cable ducts under the carpet. The cables then reappear underneath the seat, which is fine with us, since we would like to install the electronics directly here. The cables have a diameter of 2.5 and 4 mm2 and we got them as car cable in a hardware store.
Tip: All cables with different colored insulation tapes code e.g. yellow-blue-yellow for light kitchen and write this down well.
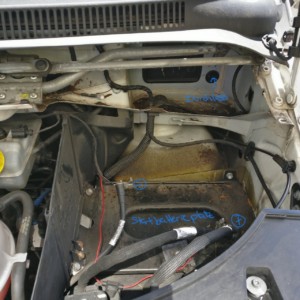
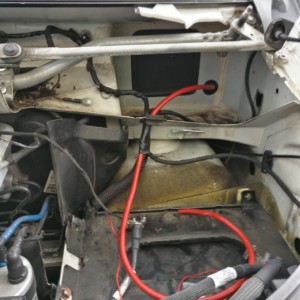
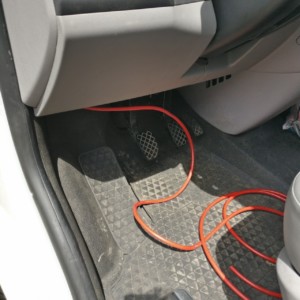
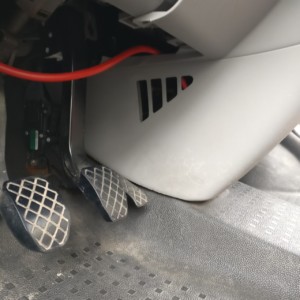
In order to use the alternator, the starter battery must be connected to the supply battery via an isolating relay. For this purpose a cable must be laid from the engine compartment to the interior. At first I was afraid of this, but after some reading I realized that it is easy, although it requires some work and fiddling. It is laborious to get the fairing off to get to the holes. First I removed the starter battery (first – cable and then + cable!). Then I removed the windshield wipers and took off the fairing. For both you need a little bit of strength, you have to dare to do it, but actually you can’t break anything. The fairing is clipped in and only has to loosen, then it comes off. Behind it, a rather unused empty space appears, which is full of garbage and leaves. Only when I tidied up everything you could see the rubber cover, which serves as a direct connection to the interior. I cut a small hole in it and put the 25 mm2 battery cable through. This is so thick, because the thicker the cables are the lower the resistance. The lower the resistance, the less heat is generated by the current flow and therefore the lower the risk of cable fire. So you can never become too thick but only too thin. I put this cable with the other cables through the opening and screwed everything together again. Afterwards the cable appears again at the pedals. I fixed it up here with cable ties and led it at the center console under the carpet up to the hole of the seat. It’s not that difficult, but it takes time and a little nerves with all the screws and fine work.
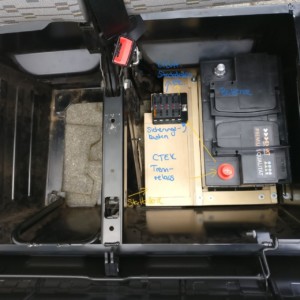
At the same time @bee has made a wooden board matching the dimensions of the bench, on which the battery, fuse box and disconnecting relay or intelligent charger are mounted. Fortunately everything fits on it and so we only need one half of the bench. After a lot of research and reading many opinions we decided to use a more expensive but very intelligent charger. It combines the function of an isolating relay, charger and solar regulator. So it is almost back in price. Intelligent means that it tries not to overheat the battery and only charges it optimally, so that the lifetime is extended. Furthermore, this device can be operated with the starter battery or alternator as well as a solar panel. The best part is that the starter battery is also charged by the solar panel when the car is stationary, if the second battery is full. So far I am enthusiastic about this device.
After all cables are in the seat, the battery, the fuse box and the charger are attached, the cables are connected. We prepare the cables for this ourselves, i.e. we strip them and assemble round pliers with the help of crimp connections and shrink tubes so that they are firmly connected. Sometimes we also add insulating tape to make sure that the cables are firmly connected. This is also a tedious fine work and we need our time, but afterwards it is worth it. Then we connect the supply battery with both + and – cables to the charger. We also connect the supply battery with a + cable to the fuse box and with the – cable to the car body. For this we use a screw on the seat. All consumers are also connected with their – – cable to this screw, so all are connected to ground. The + – cables go into a free slot of the fuse box. Here we add fuses (2 A for the lights and 30 A for the sockets). Last but not least, the + – cable of the starter battery, which we have laid from the front, connects the starter battery to the intelligent charger, thus closing the circuit. We test the whole thing and it works, after we fiddled around for a while and tested cables again and again. That’s also why we installed a voltometer with display. This is a small device which shows the capacity of the battery. Later we want to saw it into the seat, but that is another chapter.
It’s easy to have great electricity in the car and so far we haven’t worried that it’s not enough. It is just great and we are a little bit proud that this part of the supply worked out so well.
Note: This is our way of doing things – we are not electricians and we do not guarantee for the functioning or damages if this is imitated here.

