We are back, we are ready. Australia – a complete road trip along the south coast motivated us. On vacation we rented a van. It was a bit unnecessary and complicated, but very good for us. The van gave us a good insight into some details, different functionalities and we got a feeling for water and electricity consumption.
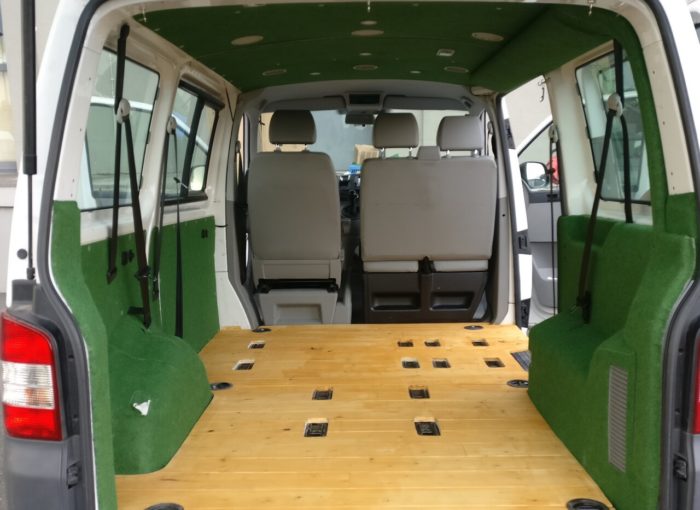
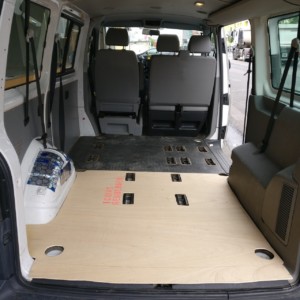
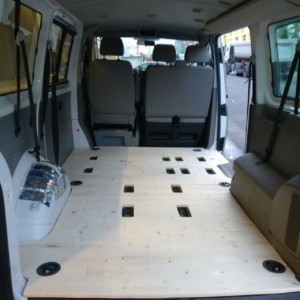
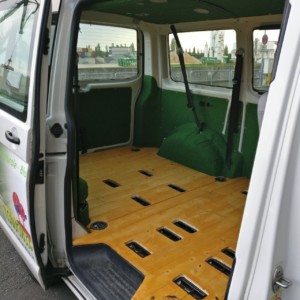
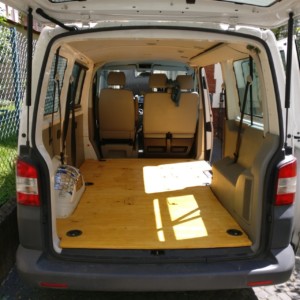
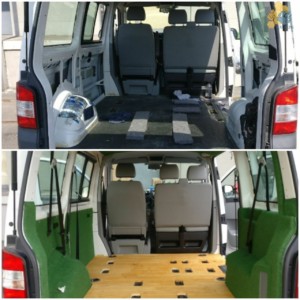
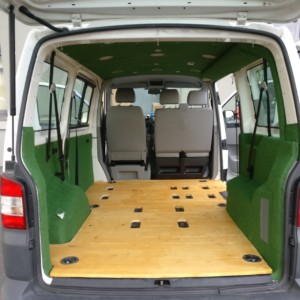
So we are now freshly strengthened and full of energy to continue to expand Nito. Already before the vacations we have bought insulation material, carpet and wooden slats for the expansion and so it takes only a little time to finally get started. Directly the first weekend we put ourselves in the head to build the wooden floor next to the tire change (on summer tires). My brother is coming as additional support and we probably wouldn’t have made it in one day without him. The goal is to create a solid wooden floor with wooden slats. It should still be possible to install the two rows of seats. We decide to use a wooden floor because we are both not very enthusiastic about installing a plastic vinyl floor and we don’t mind if there is a scratch in the floor. Wooden flooring radiates more warmth, comfort and the feeling of home.
the construction
step 1: cleaning
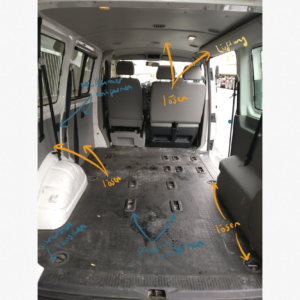
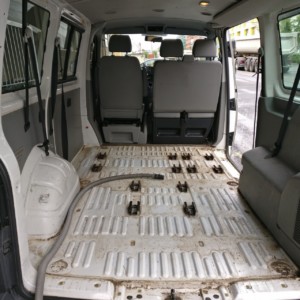
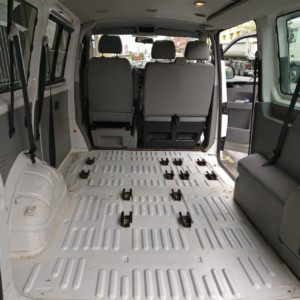
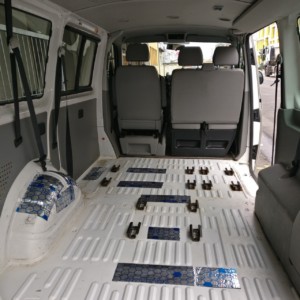
First we take out the rows of seats and get out the rubber floor. For this we need the multi-tooth M8 wrench to loosen the floor eyelets and take out the rubber floor. This is one piece, not very heavy and great because we can use it as insulation and now use it as a template during construction. Under the rubber floor is the bare metal floor, which is quite dirty due to the use. We vacuum, scrub and wipe until it is clean again. We also look for rust spots, because they have to be treated. We are lucky and the floor is in a great condition. Our new floor can come.
step 2: create substructure
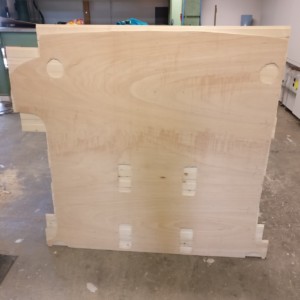
We use two clamping plates for the substructure of the floor. With the help of the rubber mat, which we use as a template, we can transfer the dimensions of the floor to the plates including recesses. Then we saw out the form with a jigsaw and sand the edges. The holes for the fixing straps of the floor and the benches are first drilled with a drill and then slowly sawn out with the jigsaw. Here we have to sand everything by hand because the machines are too big to get into the holes. As a result we get an impression of the rubber mat and thus the floor.
step 3: mount wooden slats
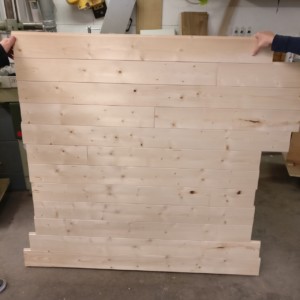
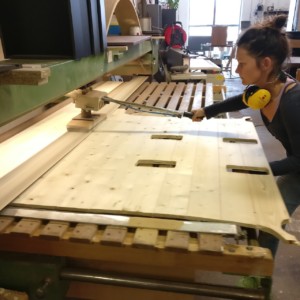
Next comes the part that we all enjoyed the most. Piece by piece we take the three meter long wooden slats and cut them roughly into the right length depending on the pattern. We screwed the first slat on at the beginning to fix it in place and also adjust the other slats correctly and mount them correctly on the template. Each board is adjusted individually and when the whole batten is covered, we screw it on from below. So the screws are not visible from above, but the battens are well fixed. Afterwards, the adjustment to the exact shape follows again. For this purpose the clamping plate serves now as a template. With the help of a wood milling machine we can transfer this form directly to the wooden slats. It takes a little skill and strength, but it is very exact and you make progress quite fast. The whole thing is of course sanded down again and the holes have to be cut out again individually with drillings, saw and milling machine. This takes a little time and we are glad that we have so many tools and space. While my brother and I line the second clamping plate with wooden slats, @bee takes the first plate with the big belt sander and grinds it smooth.
step 4: create cover
We do the same with the second plate while we start cutting out a cover for each hole. Unfortunately, due to imprecise work and grinding, no two holes are the same, so we have to adjust each one individually. This is annoying, takes a lot of time, but luckily there are three of us. So the lid is drawn in, sawn out and with a lot of effort cut to size.
step 5: adjustments
Now that everything is in place, we put the rubber mat back on the bodywork as insulation. Before we did this, we soundproofed the floor a bit with some Alubytl strips. We put the wooden floor carefully on the rubber floor and of course we realize that despite the template some small corners do not fit with the curves of the car because of the thickness of the floor. So notice it, take it out again, sand it down a little more and try again. We did the whole thing 4-5 times.
Unfortunately, we noticed that the rear seat needs a bigger recess to fix itself properly. It is evening, we are tired and broken, so we file it out roughly and call it a day.
step 6: oiling
The next morning, freshly recovered and a little proud of our work, we can sand the filed area. Afterwards we oil the bus with wood oil, which is suitable for inside and outside and let it dry. It took us about 12 hours for the complete construction including cleaning, assembly and oiling.
used tools and materials
- Multi-tooth socket wrench M8
- allen key
- drill
- pen
- keyhole saw
- rasp
- Sanding machine and sandpaper
- M8 Screws in 7 cm length (6 pieces) for fixing the floor
- Alubytl as sound insulation
- clamping plates
- wooden slats with tongue and groove
- many screws

