Module 02 – the drawer
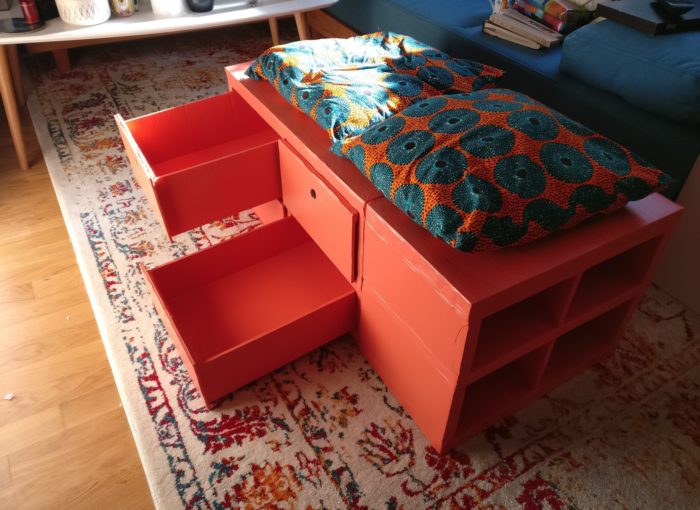
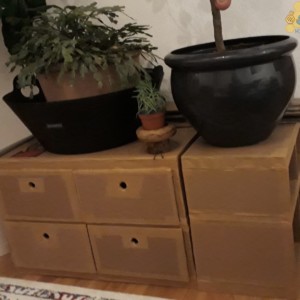
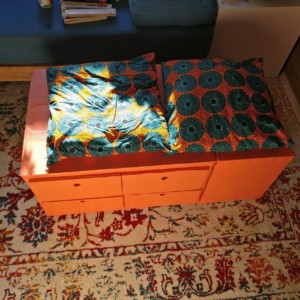
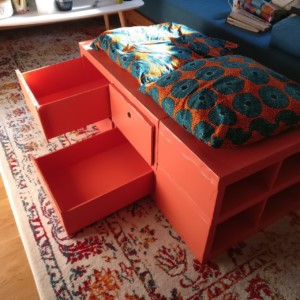
Inspired by the success of the first module, we immediately started on the chest of drawers. Similar to the shoe rack, 4 additional drawers were to be installed. It is really fine how little it takes to make such a piece of furniture. Much less tools are needed and the dirt is nothing compared to planing, sawing and sanding wood. So we can cut the boards and cross strips directly in the living room and then we vacuum the floor. There is no dust and the garbage is paper. It is fine not to stand in the workshop in the cold season, but to do handicrafts at home together with radio plays in the rainy weather.
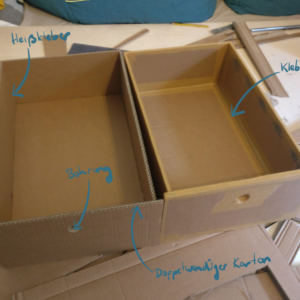
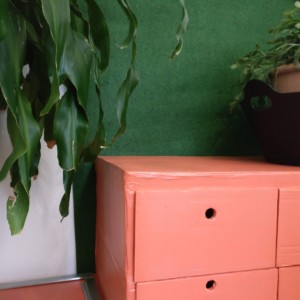
We build the chest of drawers similar to a shoe rack, @bee still glues the drawers together and then we paint everything. It takes a day to make such a piece of furniture, that drying from varnishing takes again a little time, but we notice that we become faster and faster and more skillful. The module is stable, we can stand on it and we are not afraid that it will buckle under the load. We were able to repair a kink that I had made directly with the vacuum cleaner within 10 minutes. I am completely surprised by the flexibility of this material. Now it is time for the moisture test. For this, we will place the module in our bathroom for the next 2 weeks, which contains a lot of moisture, especially in winter when we wash and shower.
The furniture passed this test with flying colors and we also directly poured water over it and let it stand for a short time without any damage. Slowly I believe in the material myself.
The next challenge will be the first part of the bed. Here we have to build a slab that is 1.70 meters long and carries our weight so that we can sleep in peace…
Used Tools
- Cutter
- Hot glue gun
- lineal of metal
- bricklayer angle
Used Materials
- Cardboard
- Tape
- Hot glue gun patrons
- Varnish

